Install a chat widget on your website to generate more leads
If you have a decent amount of website visitors, an easy way to generate more leads is by placing a chat widget on your website. This will allow you to engage with your website visitors in case they have any questions. If you use the Messenger chat widget or collect their contact information you will be able to re-connect with them later on a different messaging channel. Best of all, you can set up a bot dialogue to handle all incoming conversations!
Follow the steps below to get a chat widget on your website.
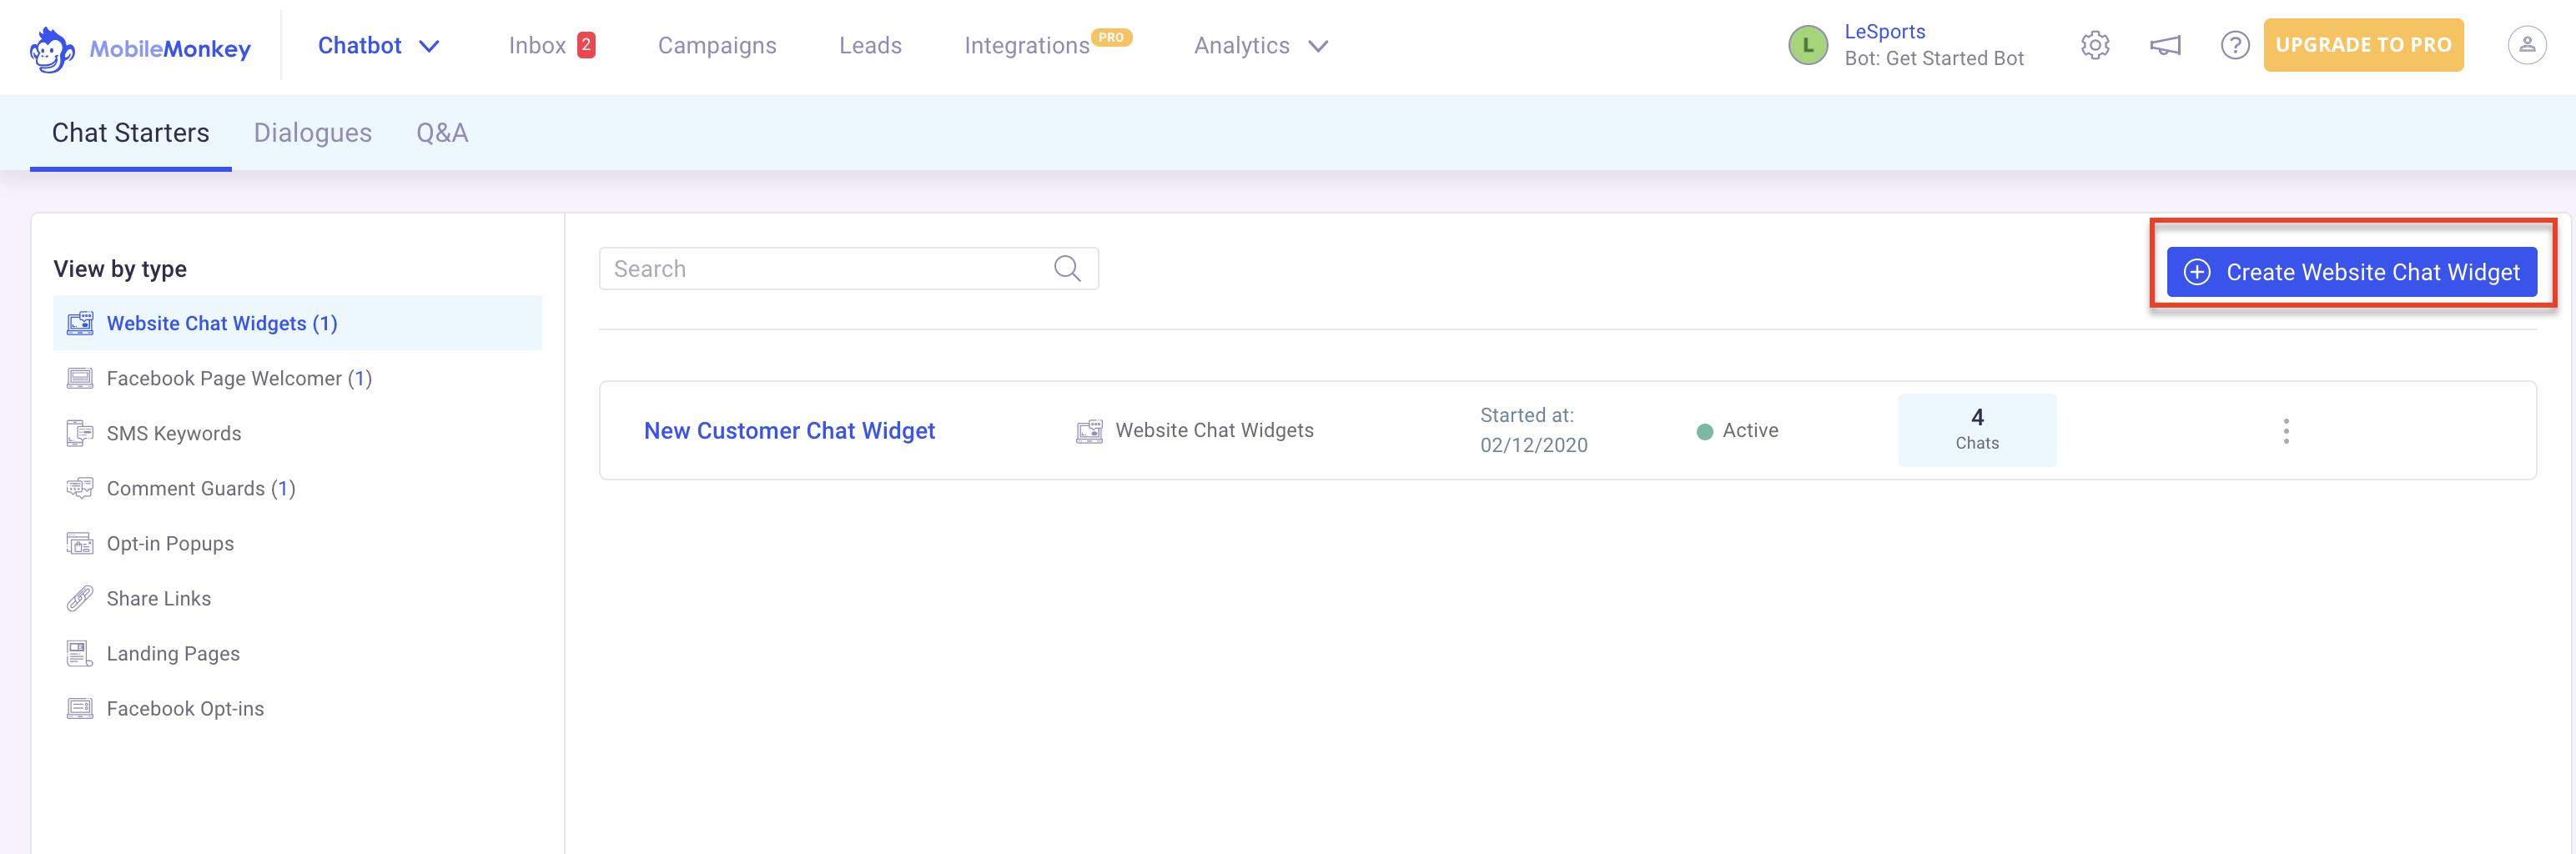
Step 1: Create a website chat widget on MobileMonkey
In MobileMonkey go to Chatbot > Chat Starters > Website Chat Widget. Click "+Create Website Chat Widget" to create a new chat widget.
All new chat widgets will be OmniChat enabled. OmniChat is a smart chat plugin that loads a native Webchat widget when the website visitor is not signed into Facebook in that browser session or if the browser is preventing the Messenger widget from loading. OmniChat will prioritize the Facebook widget, so if it knows that the user is logged into Facebook or if the user is a known Facebook user, it will always load the Messenger widget. If not, it will default to a native Webchat.
Step 2: Edit your chat widget to include all your desired settings
The chat widget setup screen will take you through the settings step-by-step.
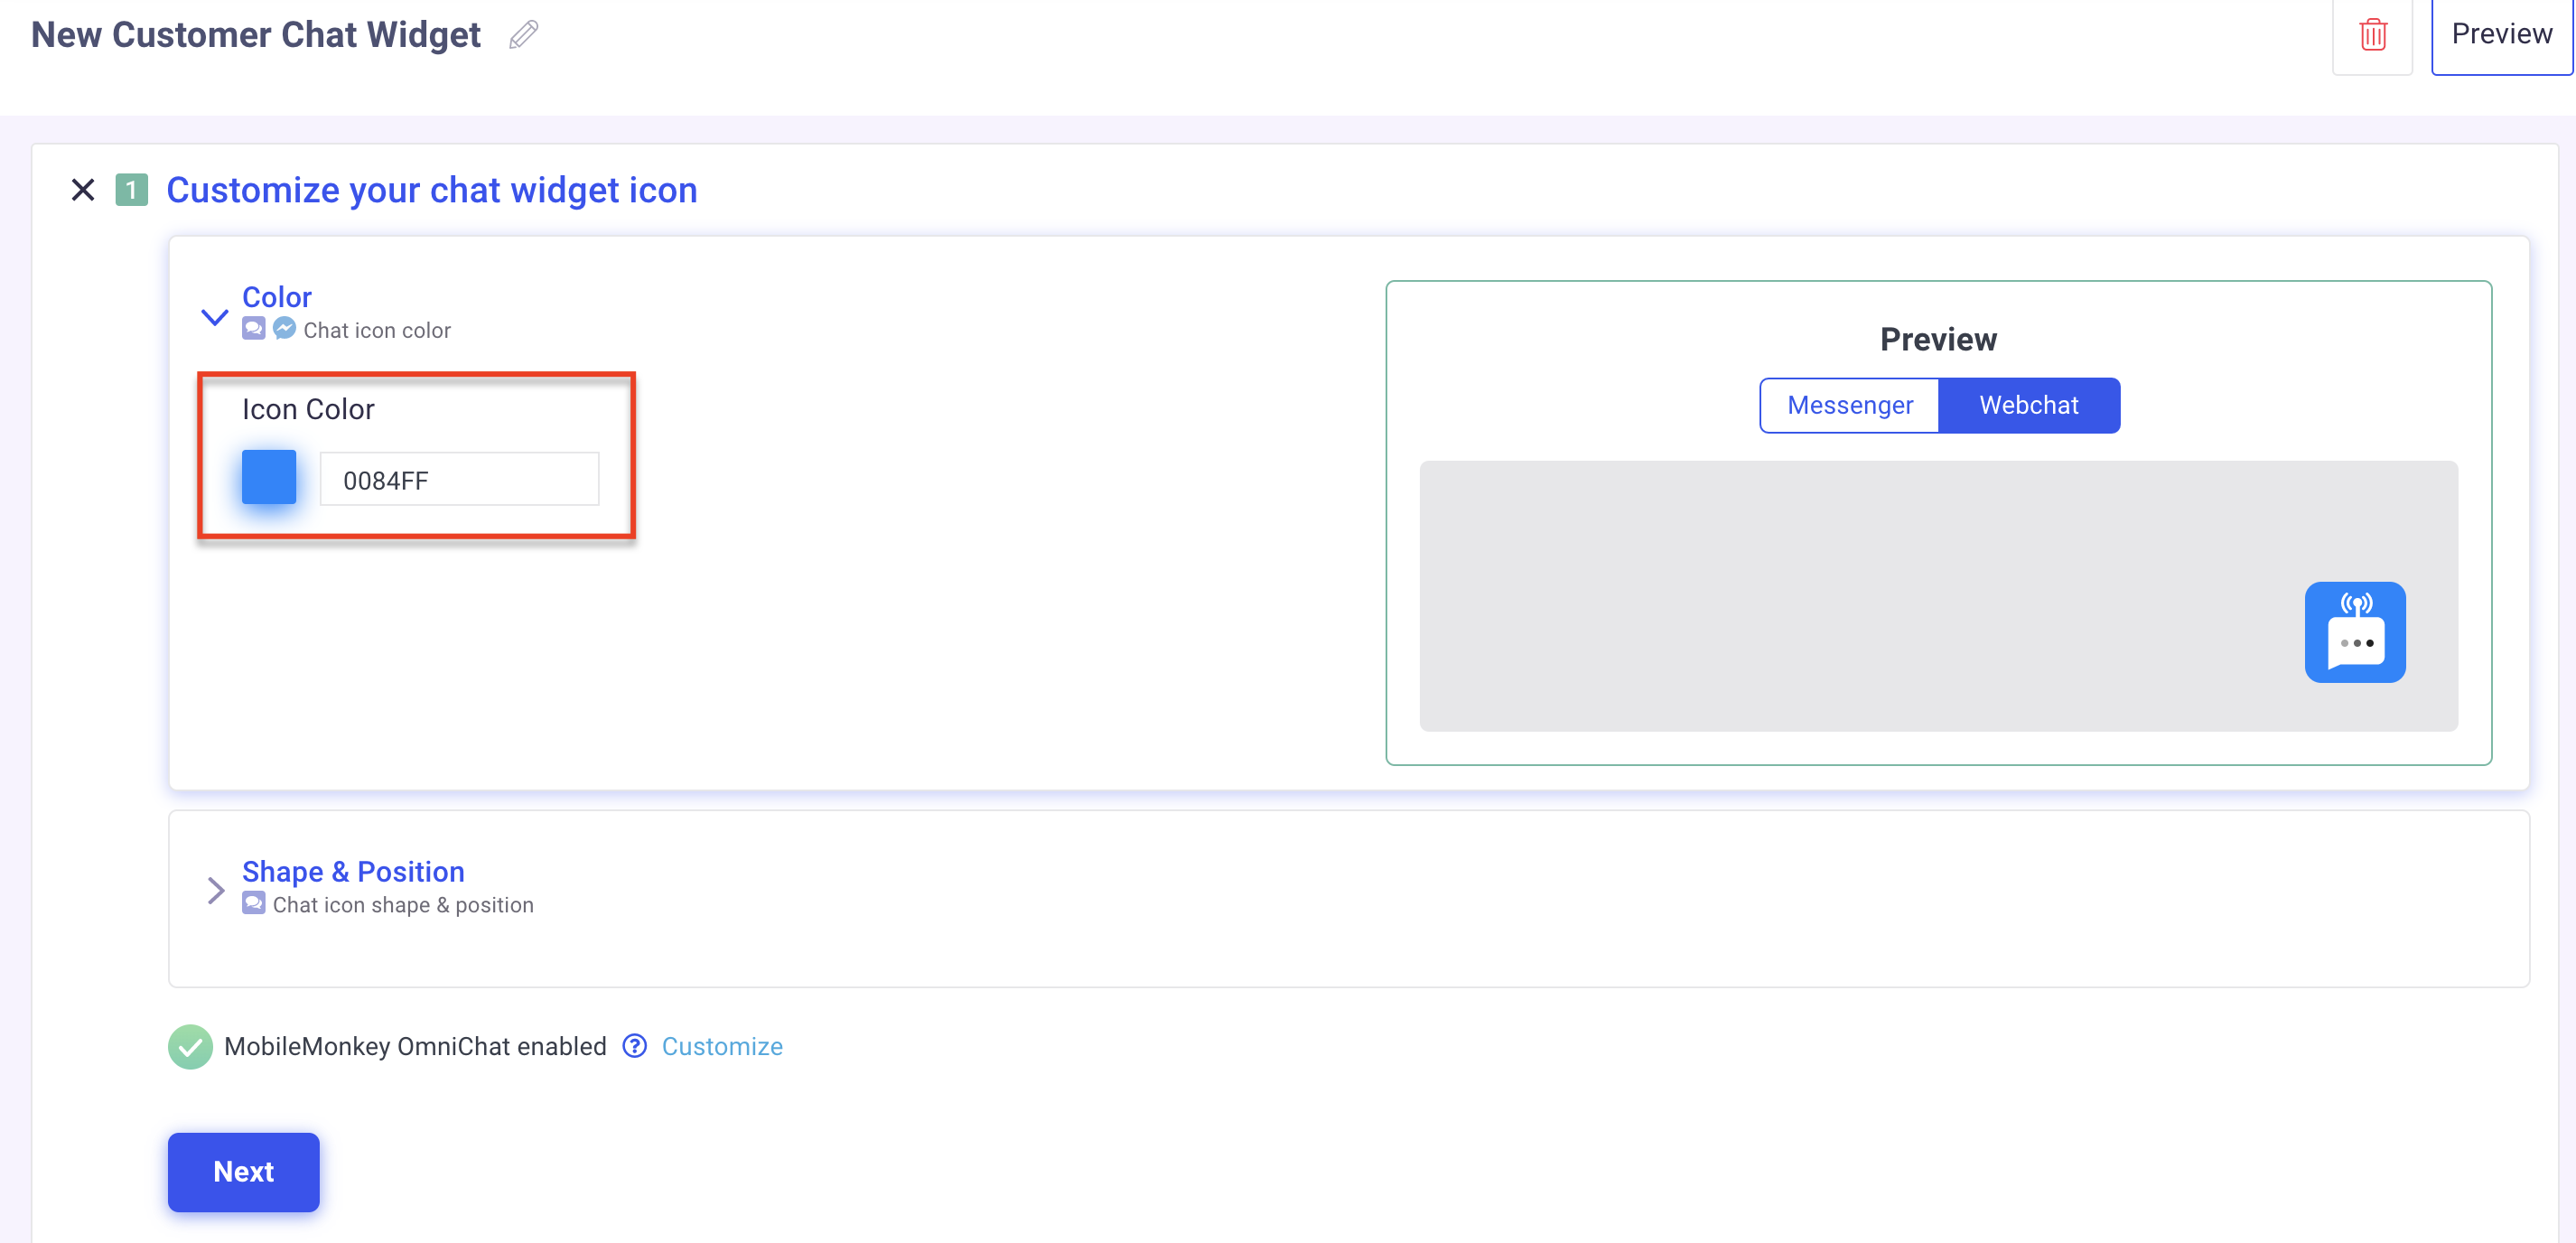
Customize your chat icon.
For both the Messenger & Webchat you will be able to change the color of the chat icon
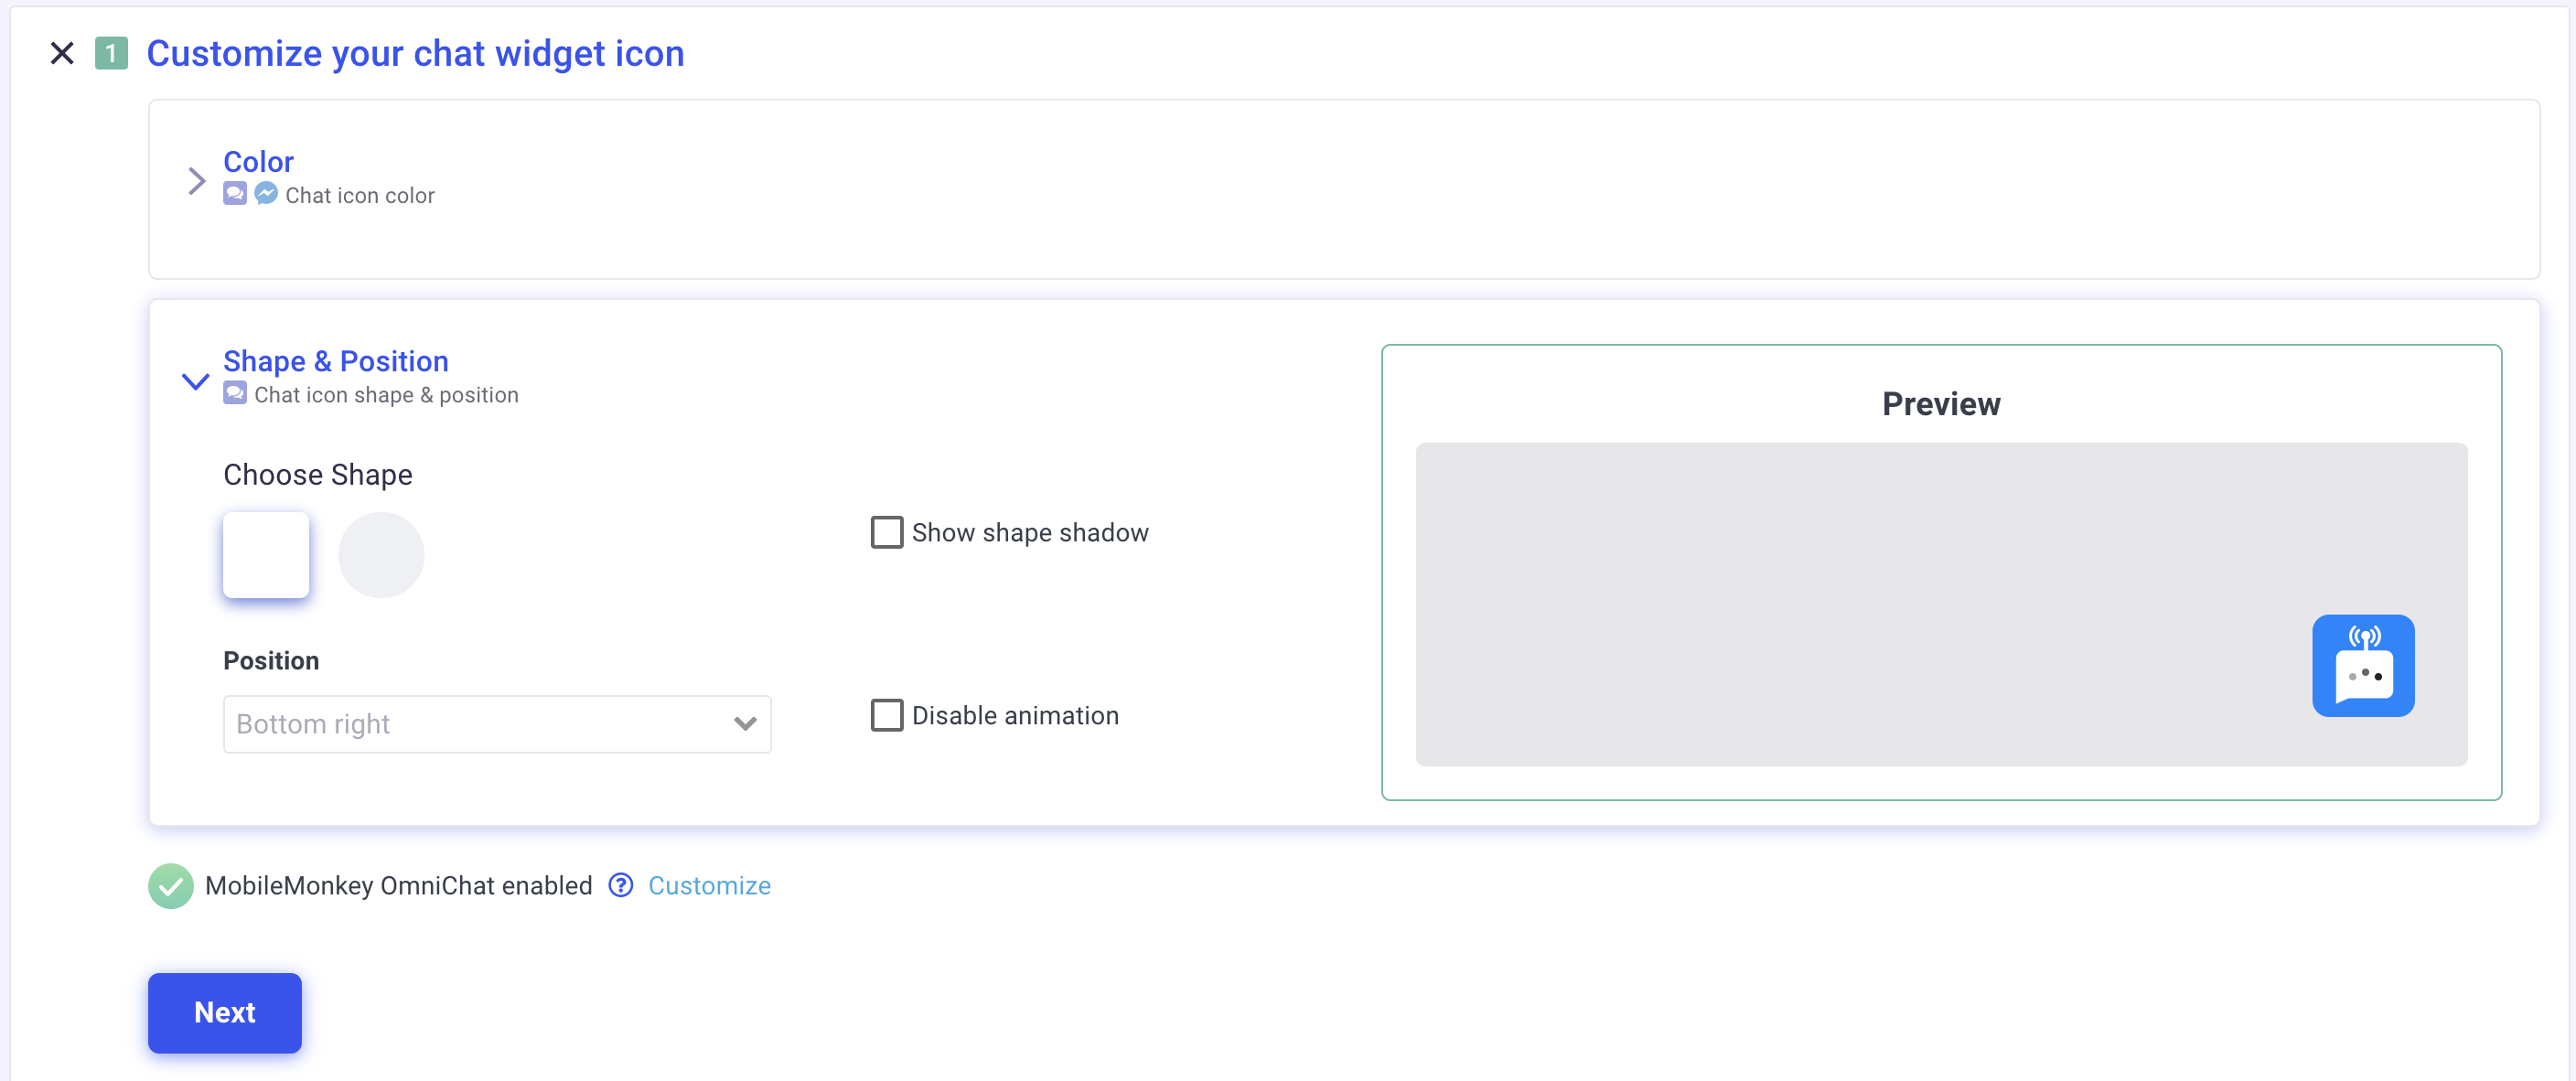
For Webchat, you will be able to further customize the position & shape of your chat widget. Confirm your desired settings an click "Next"
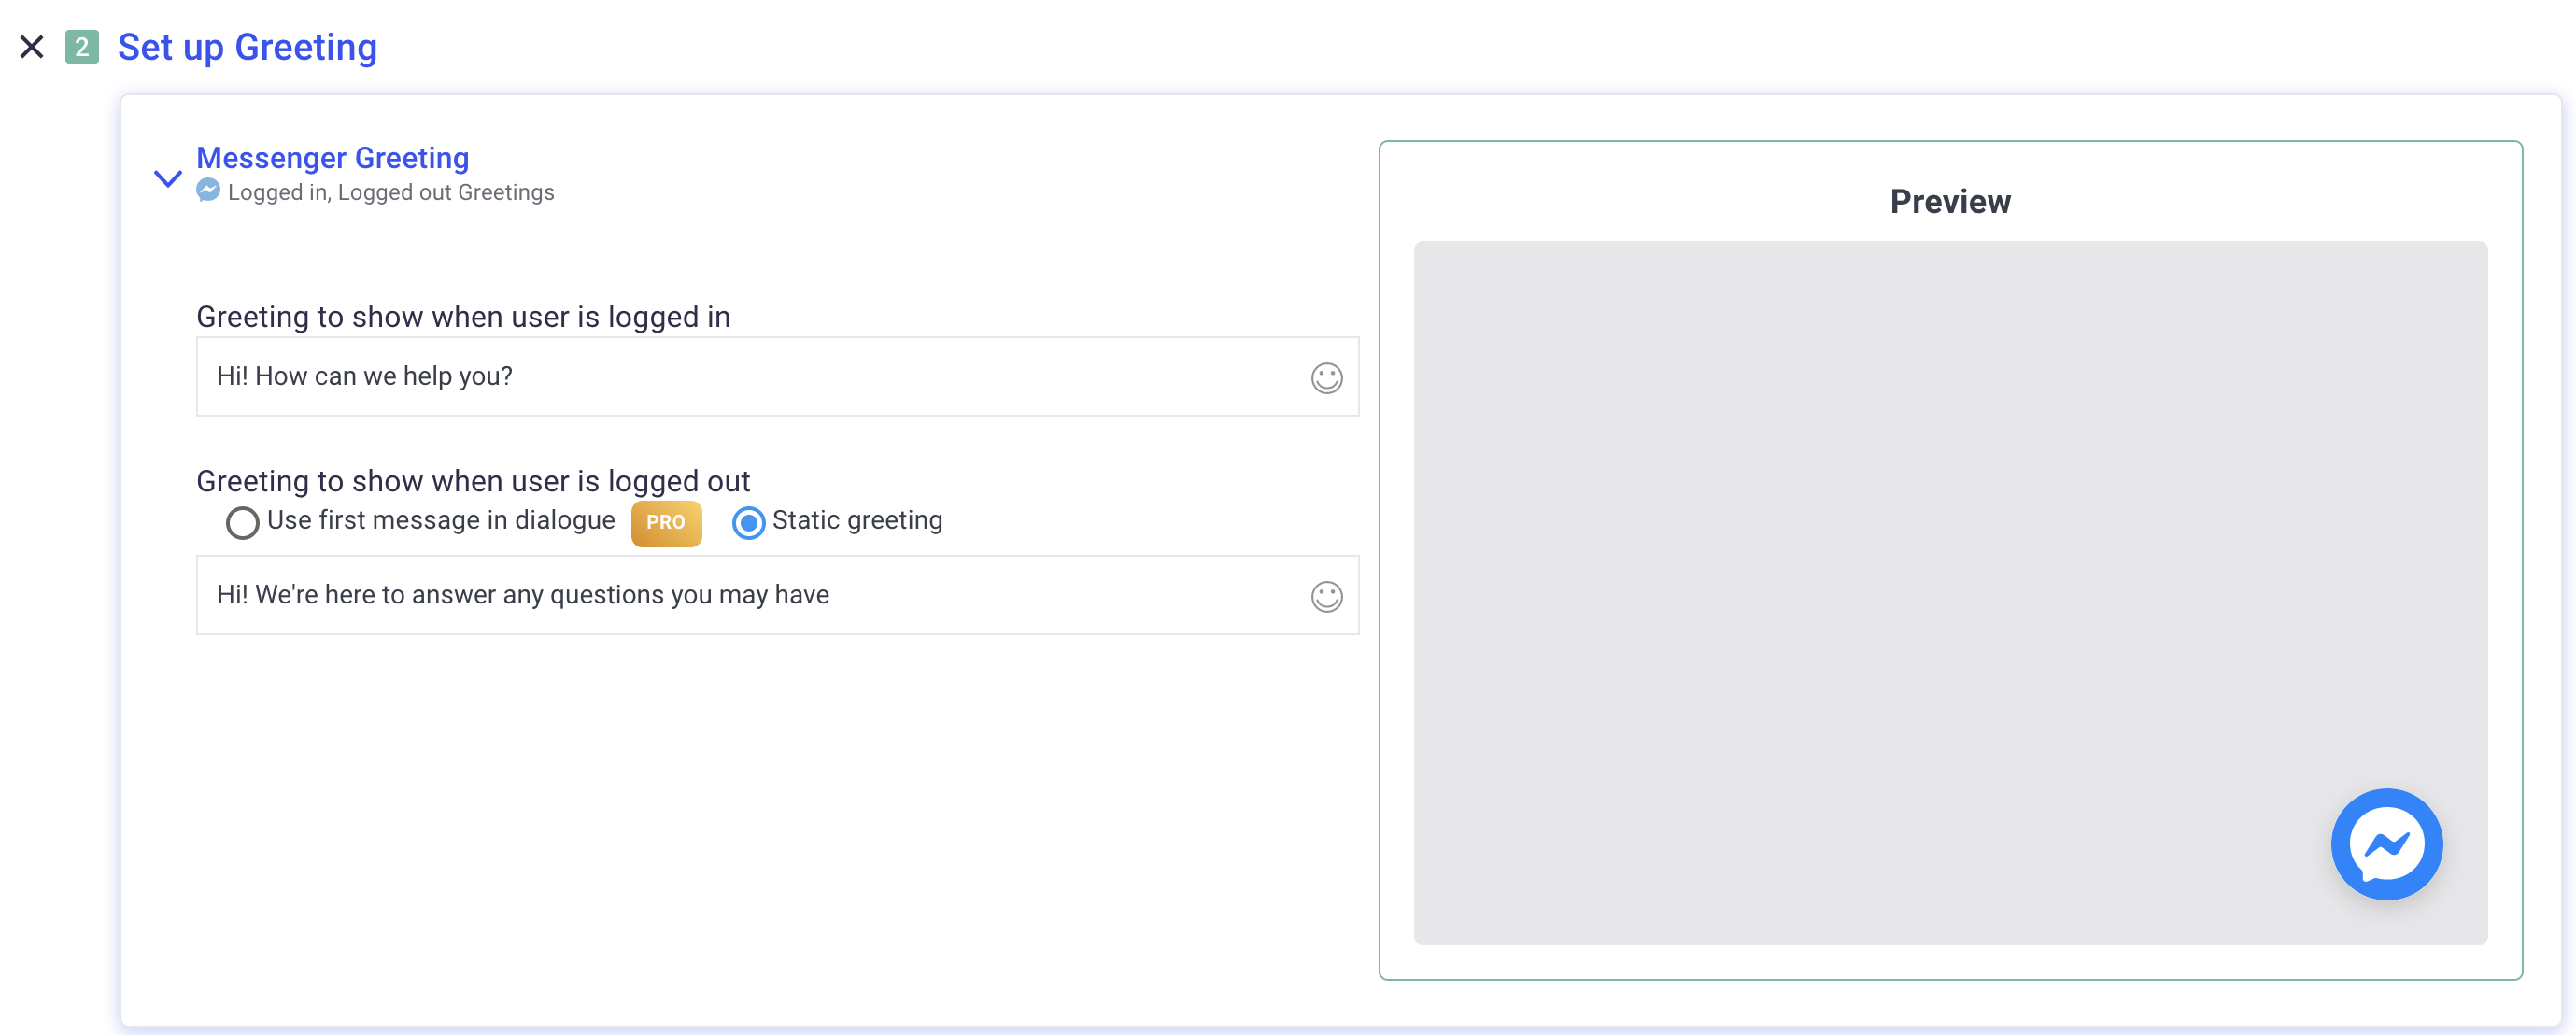
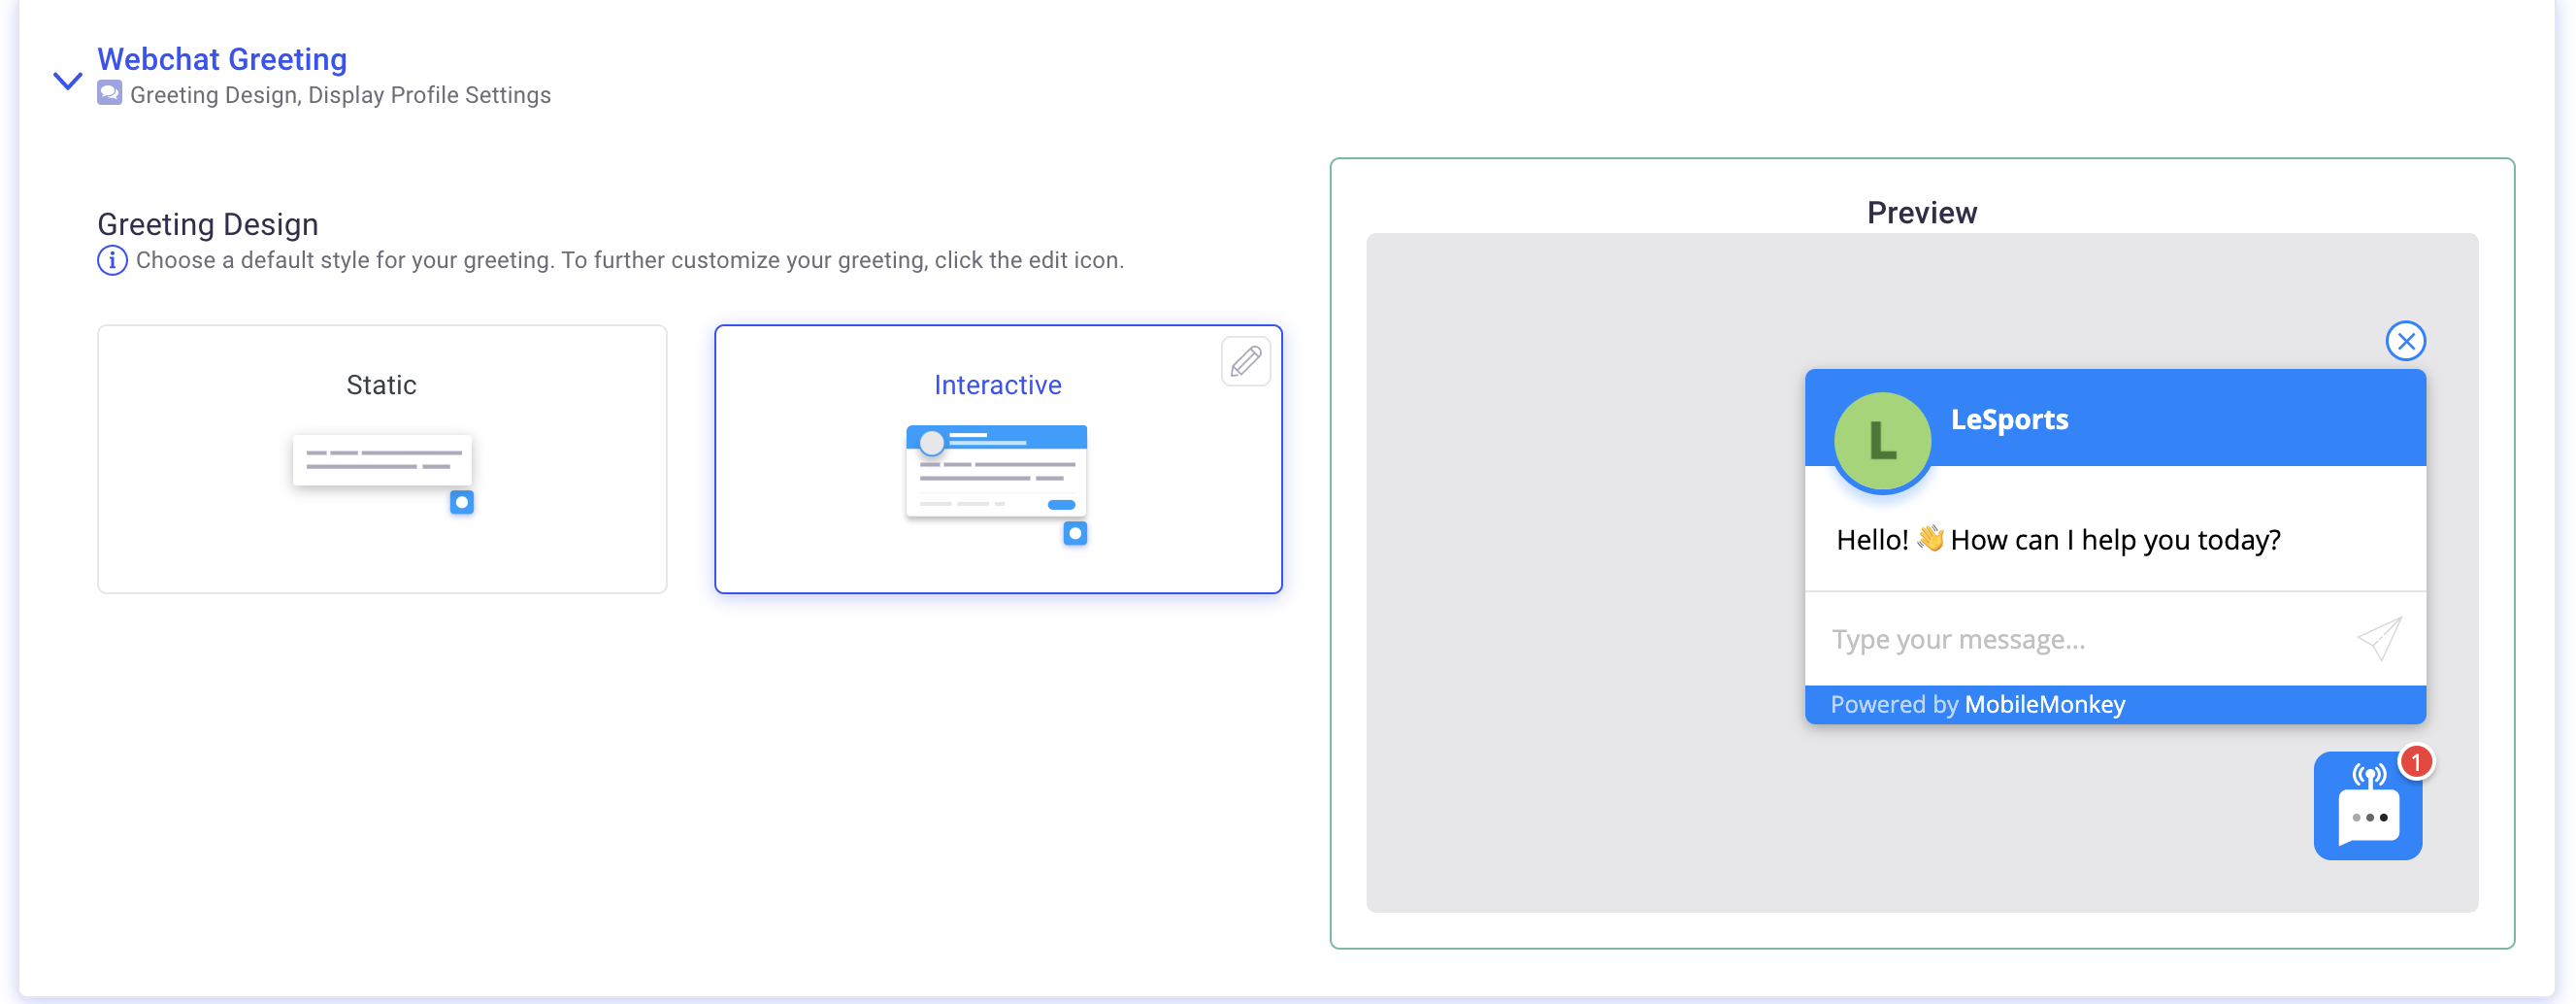
Set up your greeting. The greeting is the bubble that pops up next to your chat icon, This is mainly used to call attention to the chat widget. We recommend that you create a very engaging greeting in order to get website visitors to engage with your page.
Messenger Greeting: Facebook supports 2 text greetings, 1 for users who are logged in and 1 for users who are logged out.
WebChat Greeting: For Webchat, we support 2 types of greeting, Static & Interactive. The static greeting is just a bubble with some text. The interactive greeting will allow users to type in a question or click a button to start a conversation. We recommend choosing the Interactive Greeting. Click on the edit icon to access more advanced settings on your greeting.
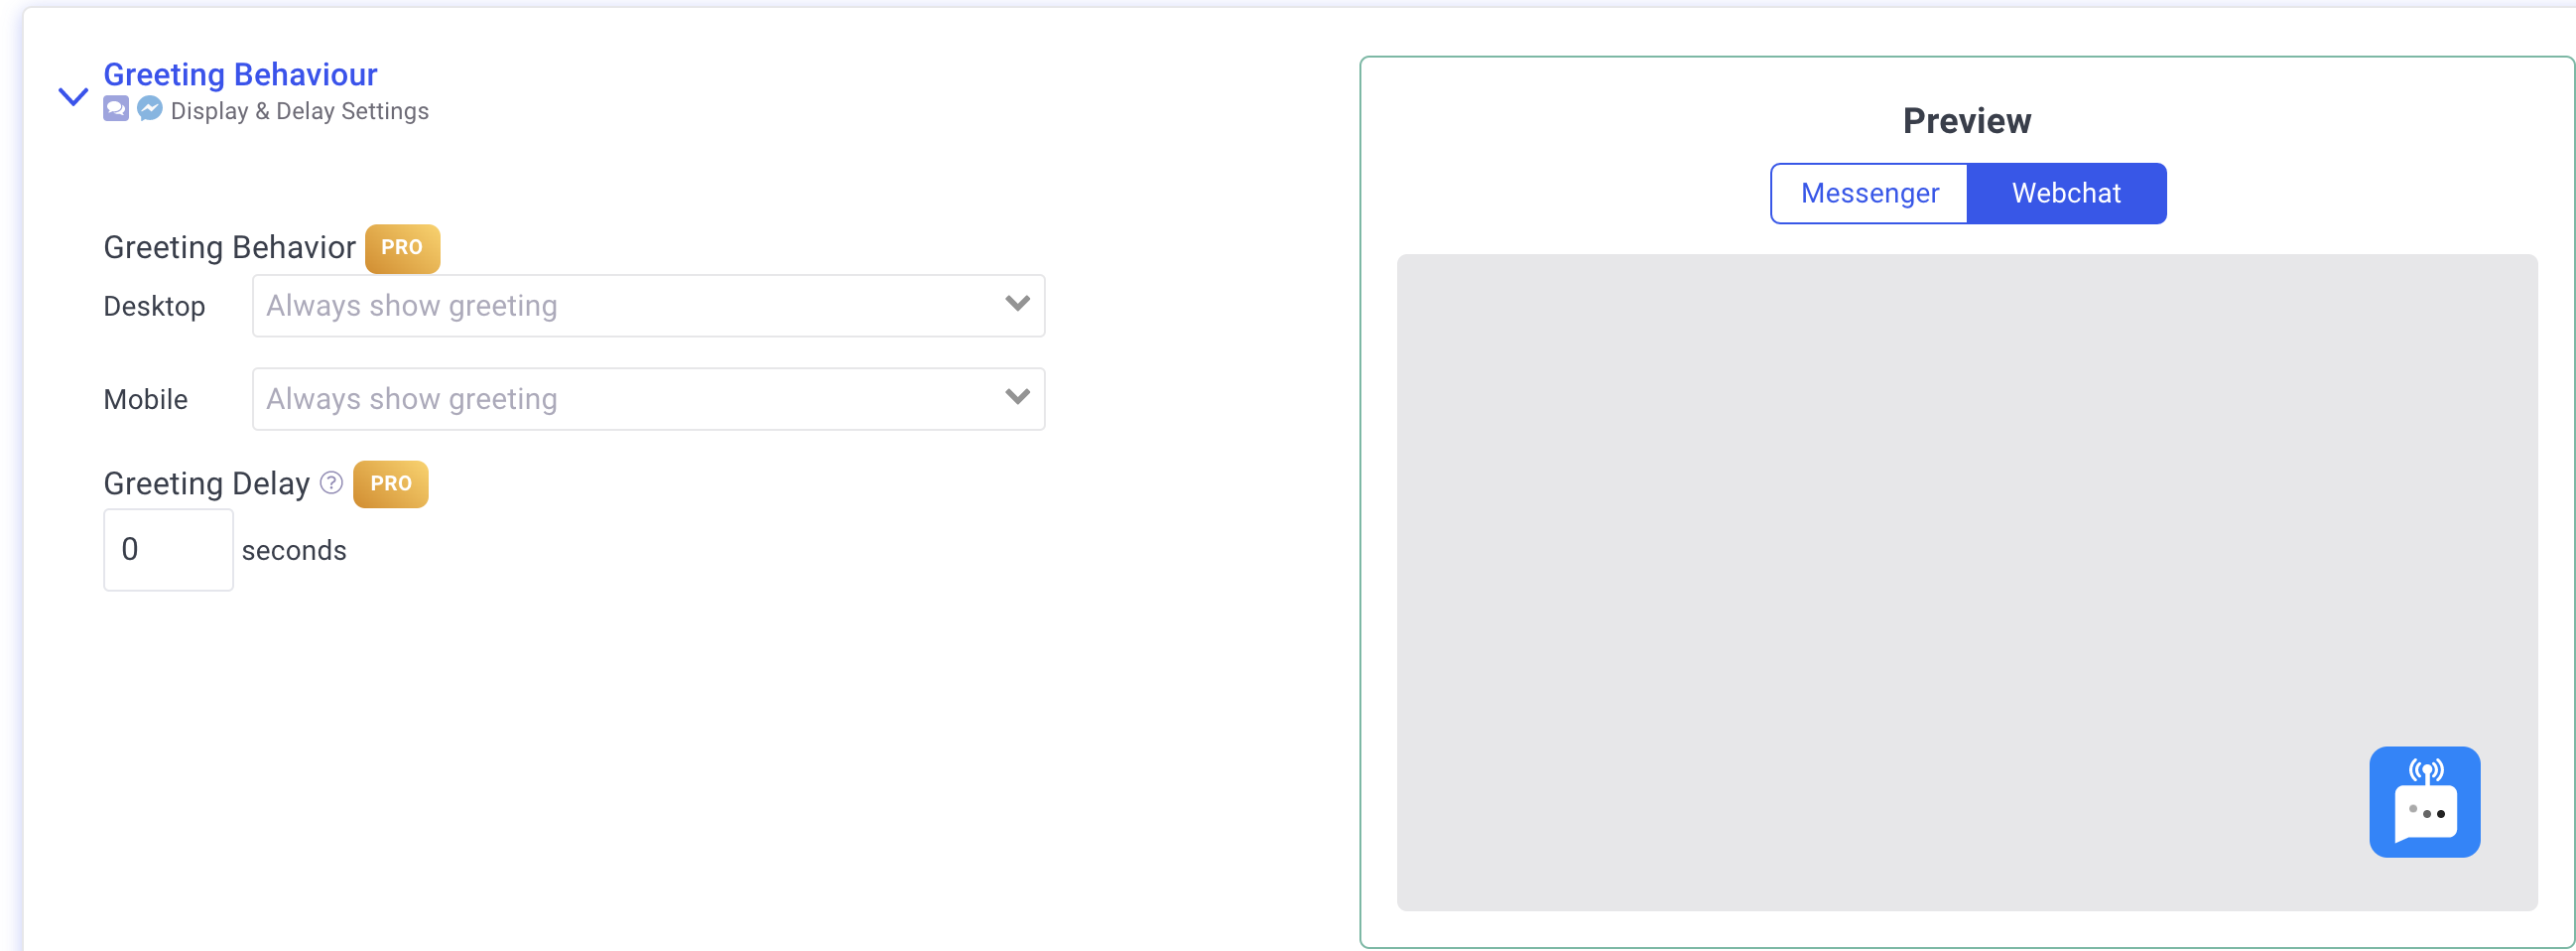
Greeting Behavior: Use this setting to always show, always hide, or show the greeting on the initial page load, then hide it. We also support adding a few seconds of delay to the greeting
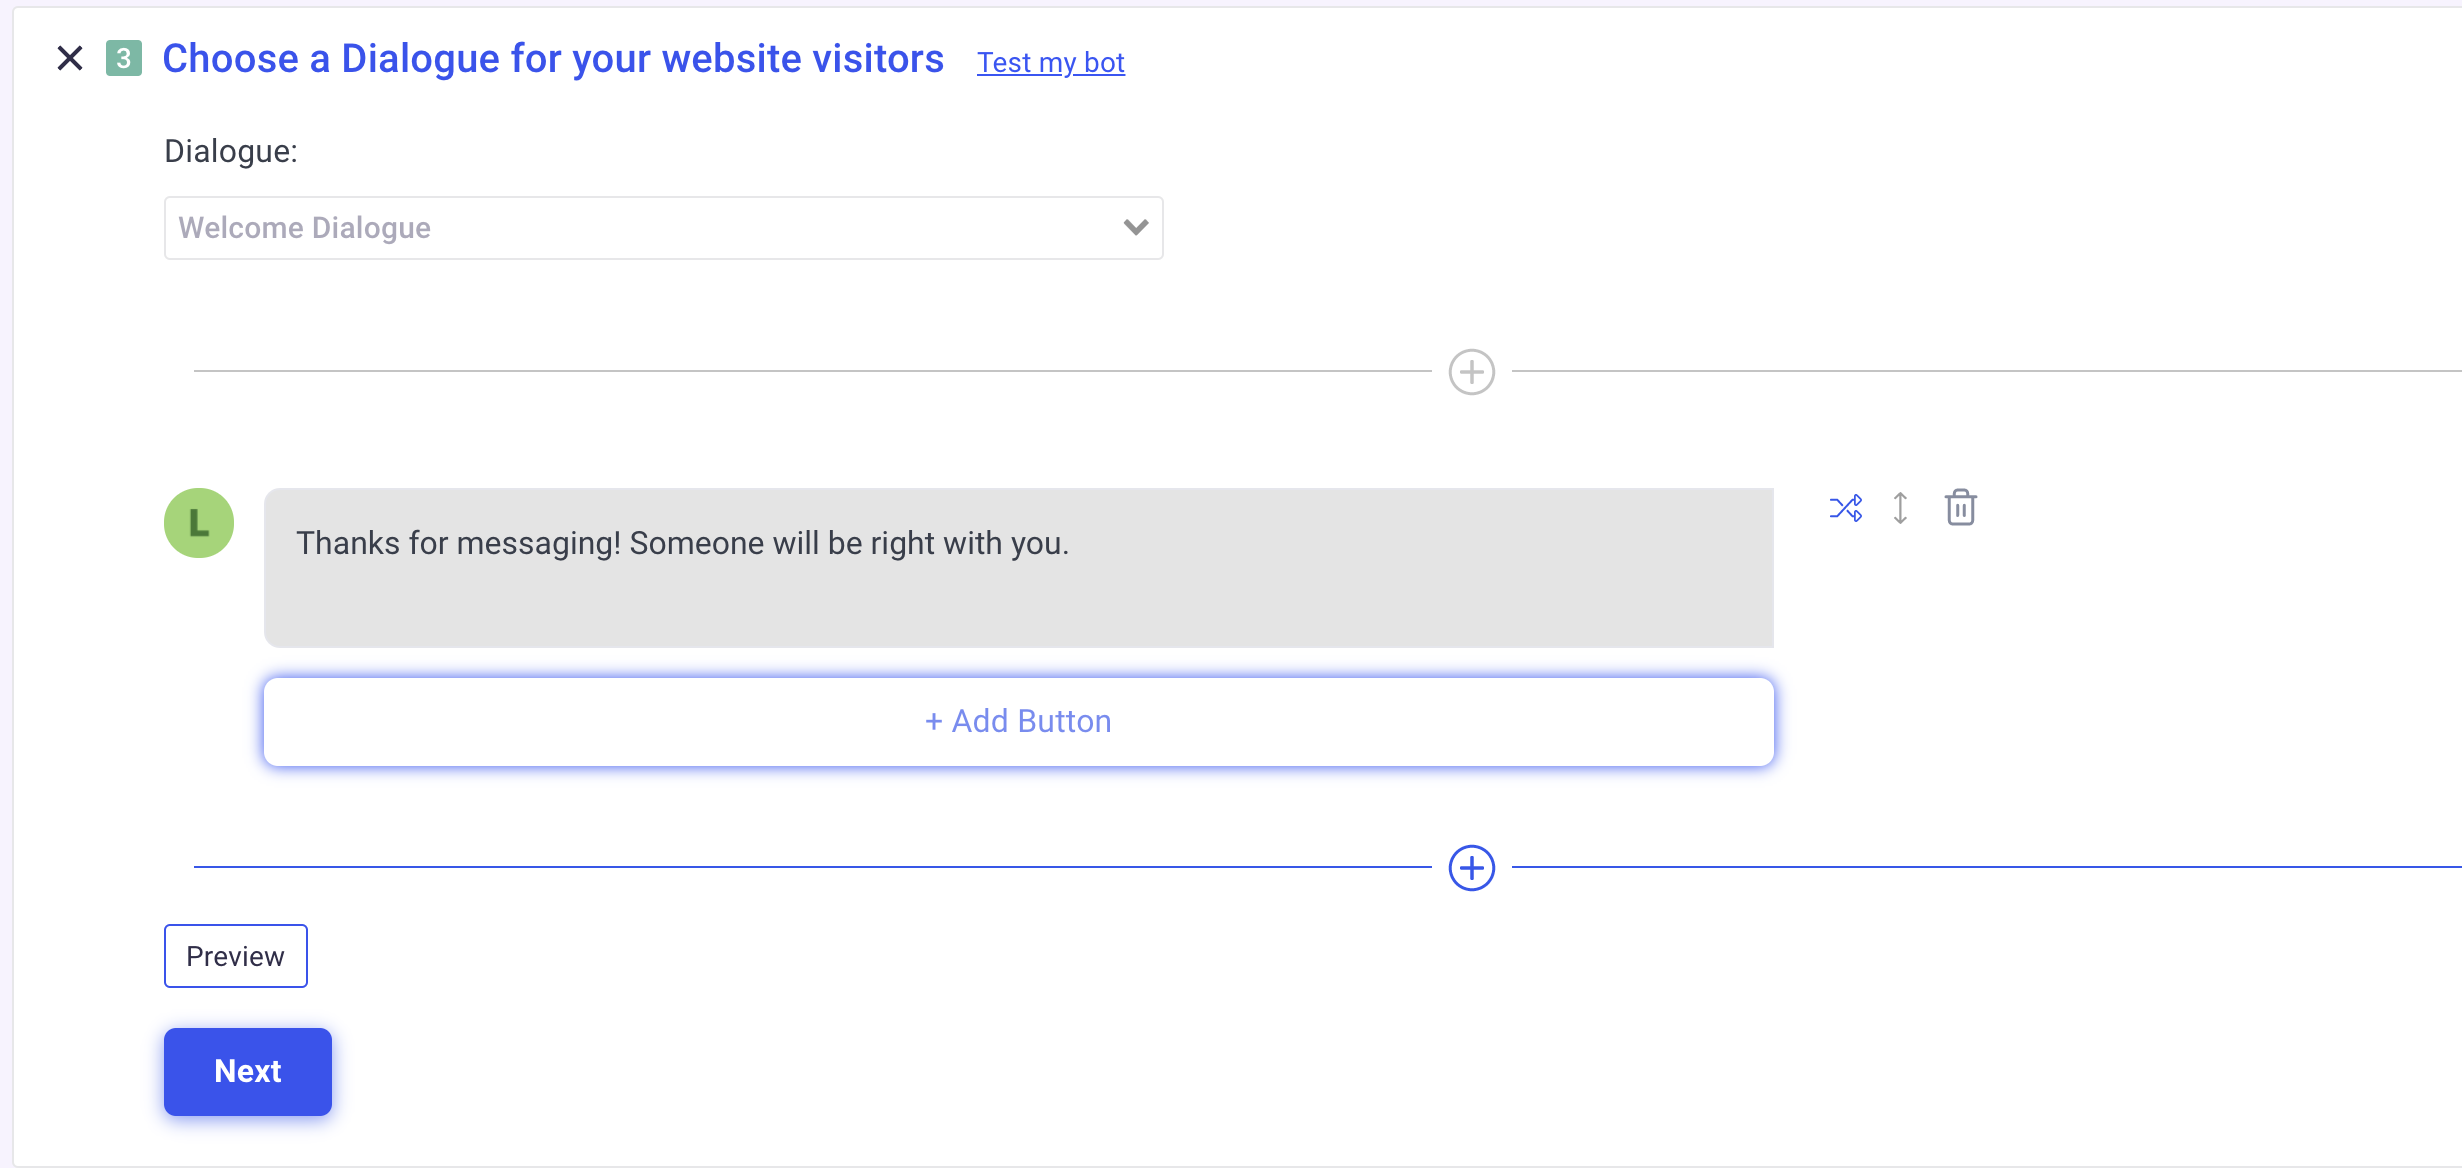
Choose a bot dialogue that will get triggered once a user interacts with your chat widget. You'll be able to edit the dialogue underneath after you select it.Need help building a dialogue? Check out this guide
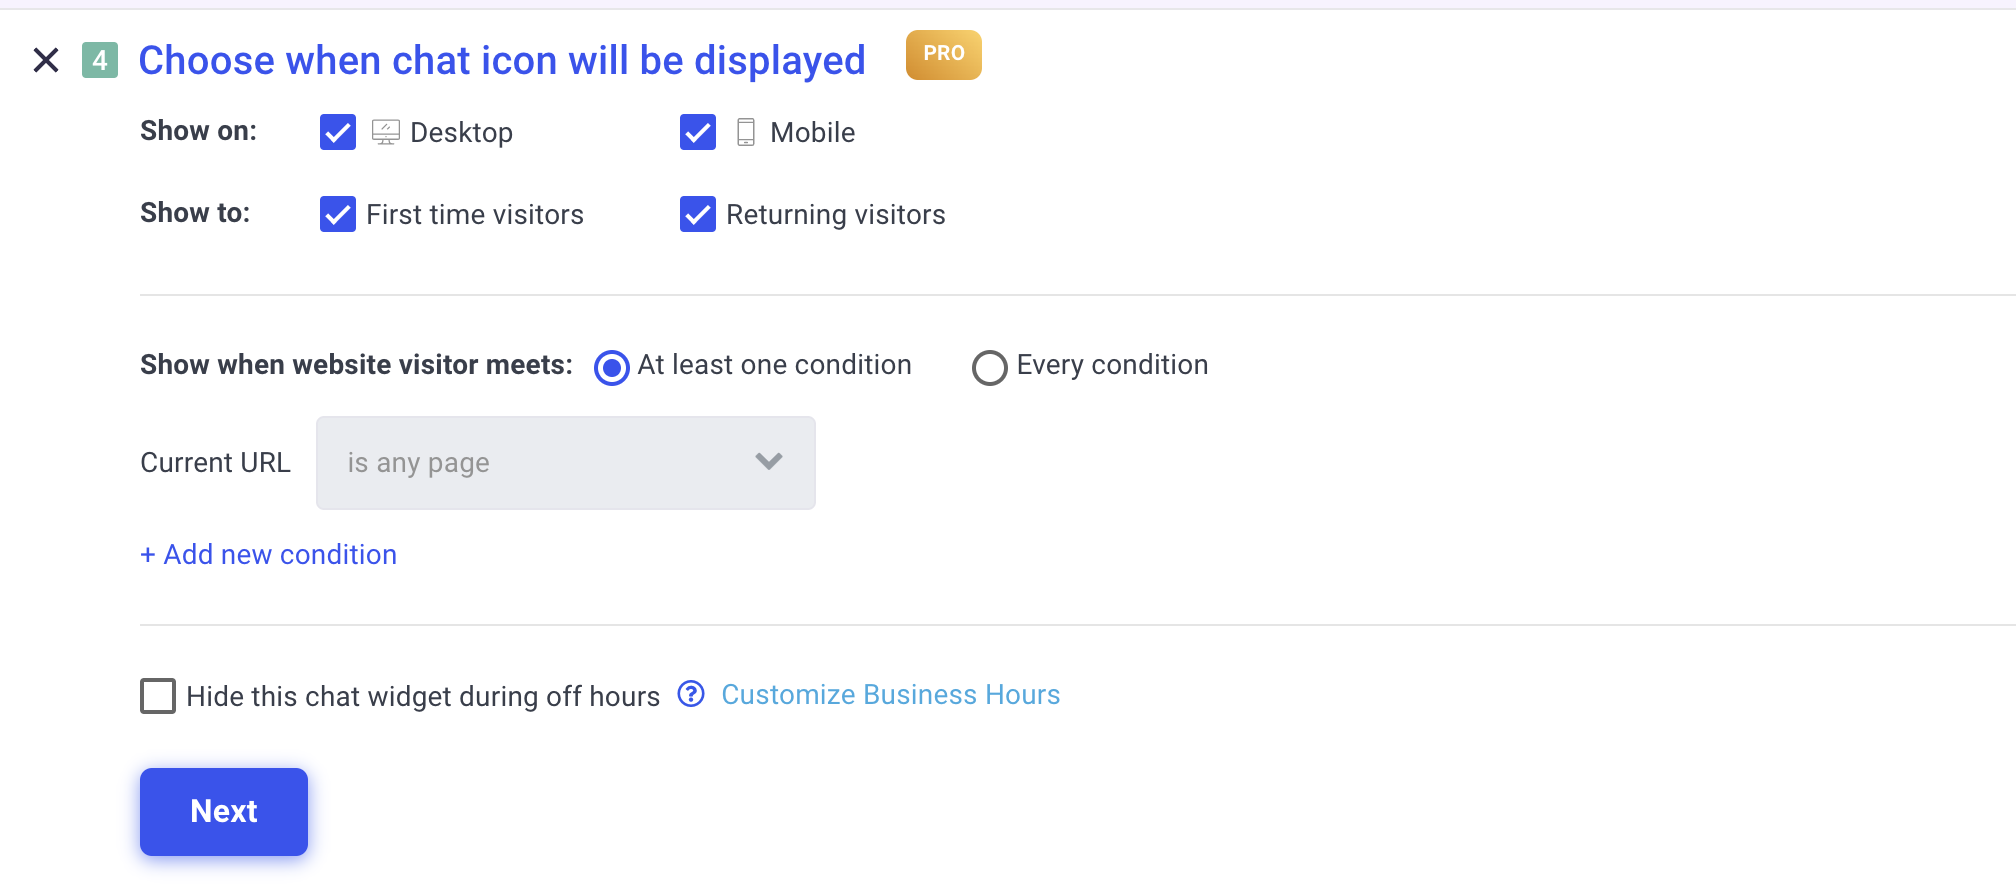
Choose when chat icon will be displayed. You can choose to only show to new or existing customers or to only show on certain pagesPRO TIP: You can show different chat widgets (with different greetings/dialogues) on different pages on your website! Simply create multiple chat widgets in MobileMonkey and use a different display rule in each one.
Step 3: Install the chat widget on your website
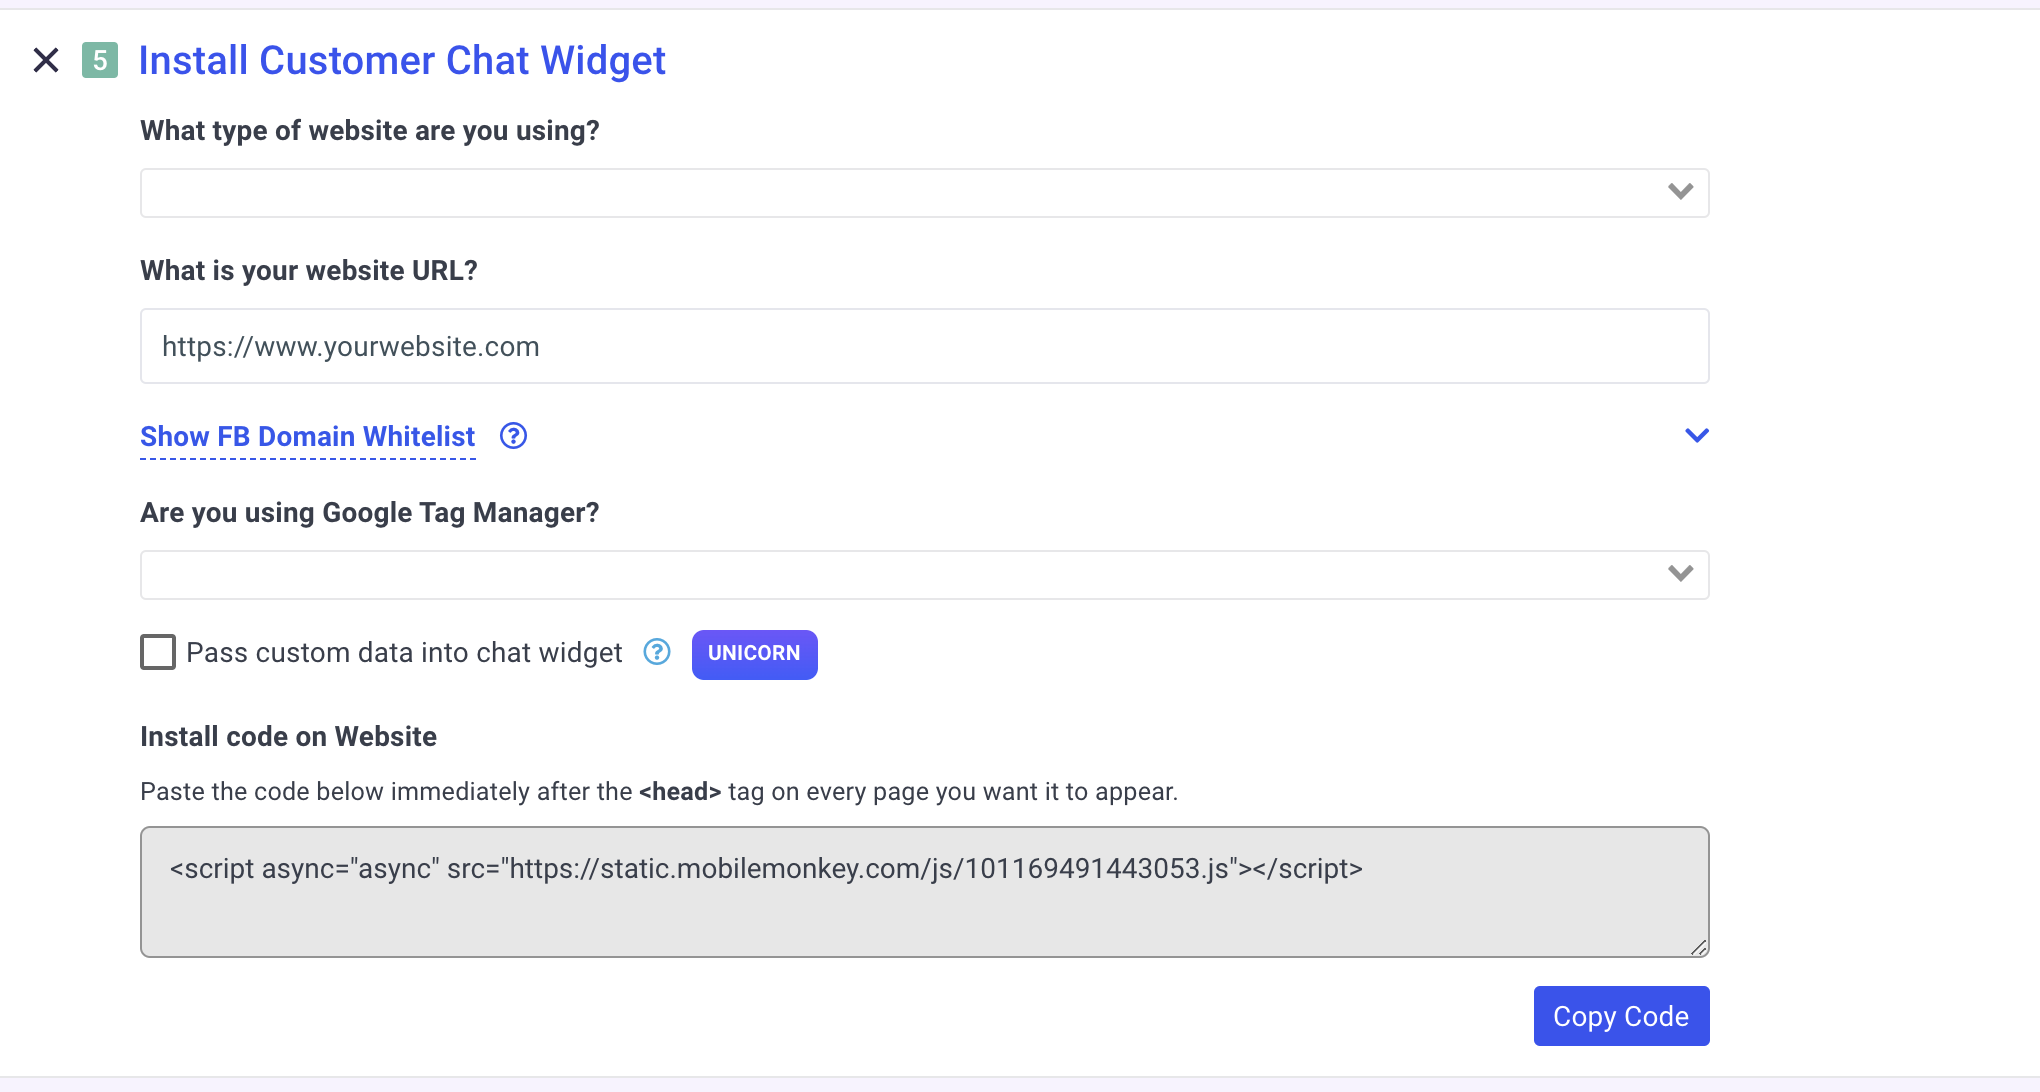
Almost there! All you need to do now is install a line of code on your website. Answer all questions in Step 5 of your chat widget setup & copy out the piece of code at the end. Install this line of code immediately after the <head> tag on every page on your website.
If the code is installed on your website but you're still not seeing the chat widget, use our Diagnostic tool to identify the issue. The tool can be found in the last section of the chat widget setup screen:
Still need help? Send an email to support@mobilemonkey.com
PRO TIP: See this helpdoc if you have development resources and would like to pass custom data into the chat widget
Step 4: Answer incoming messages
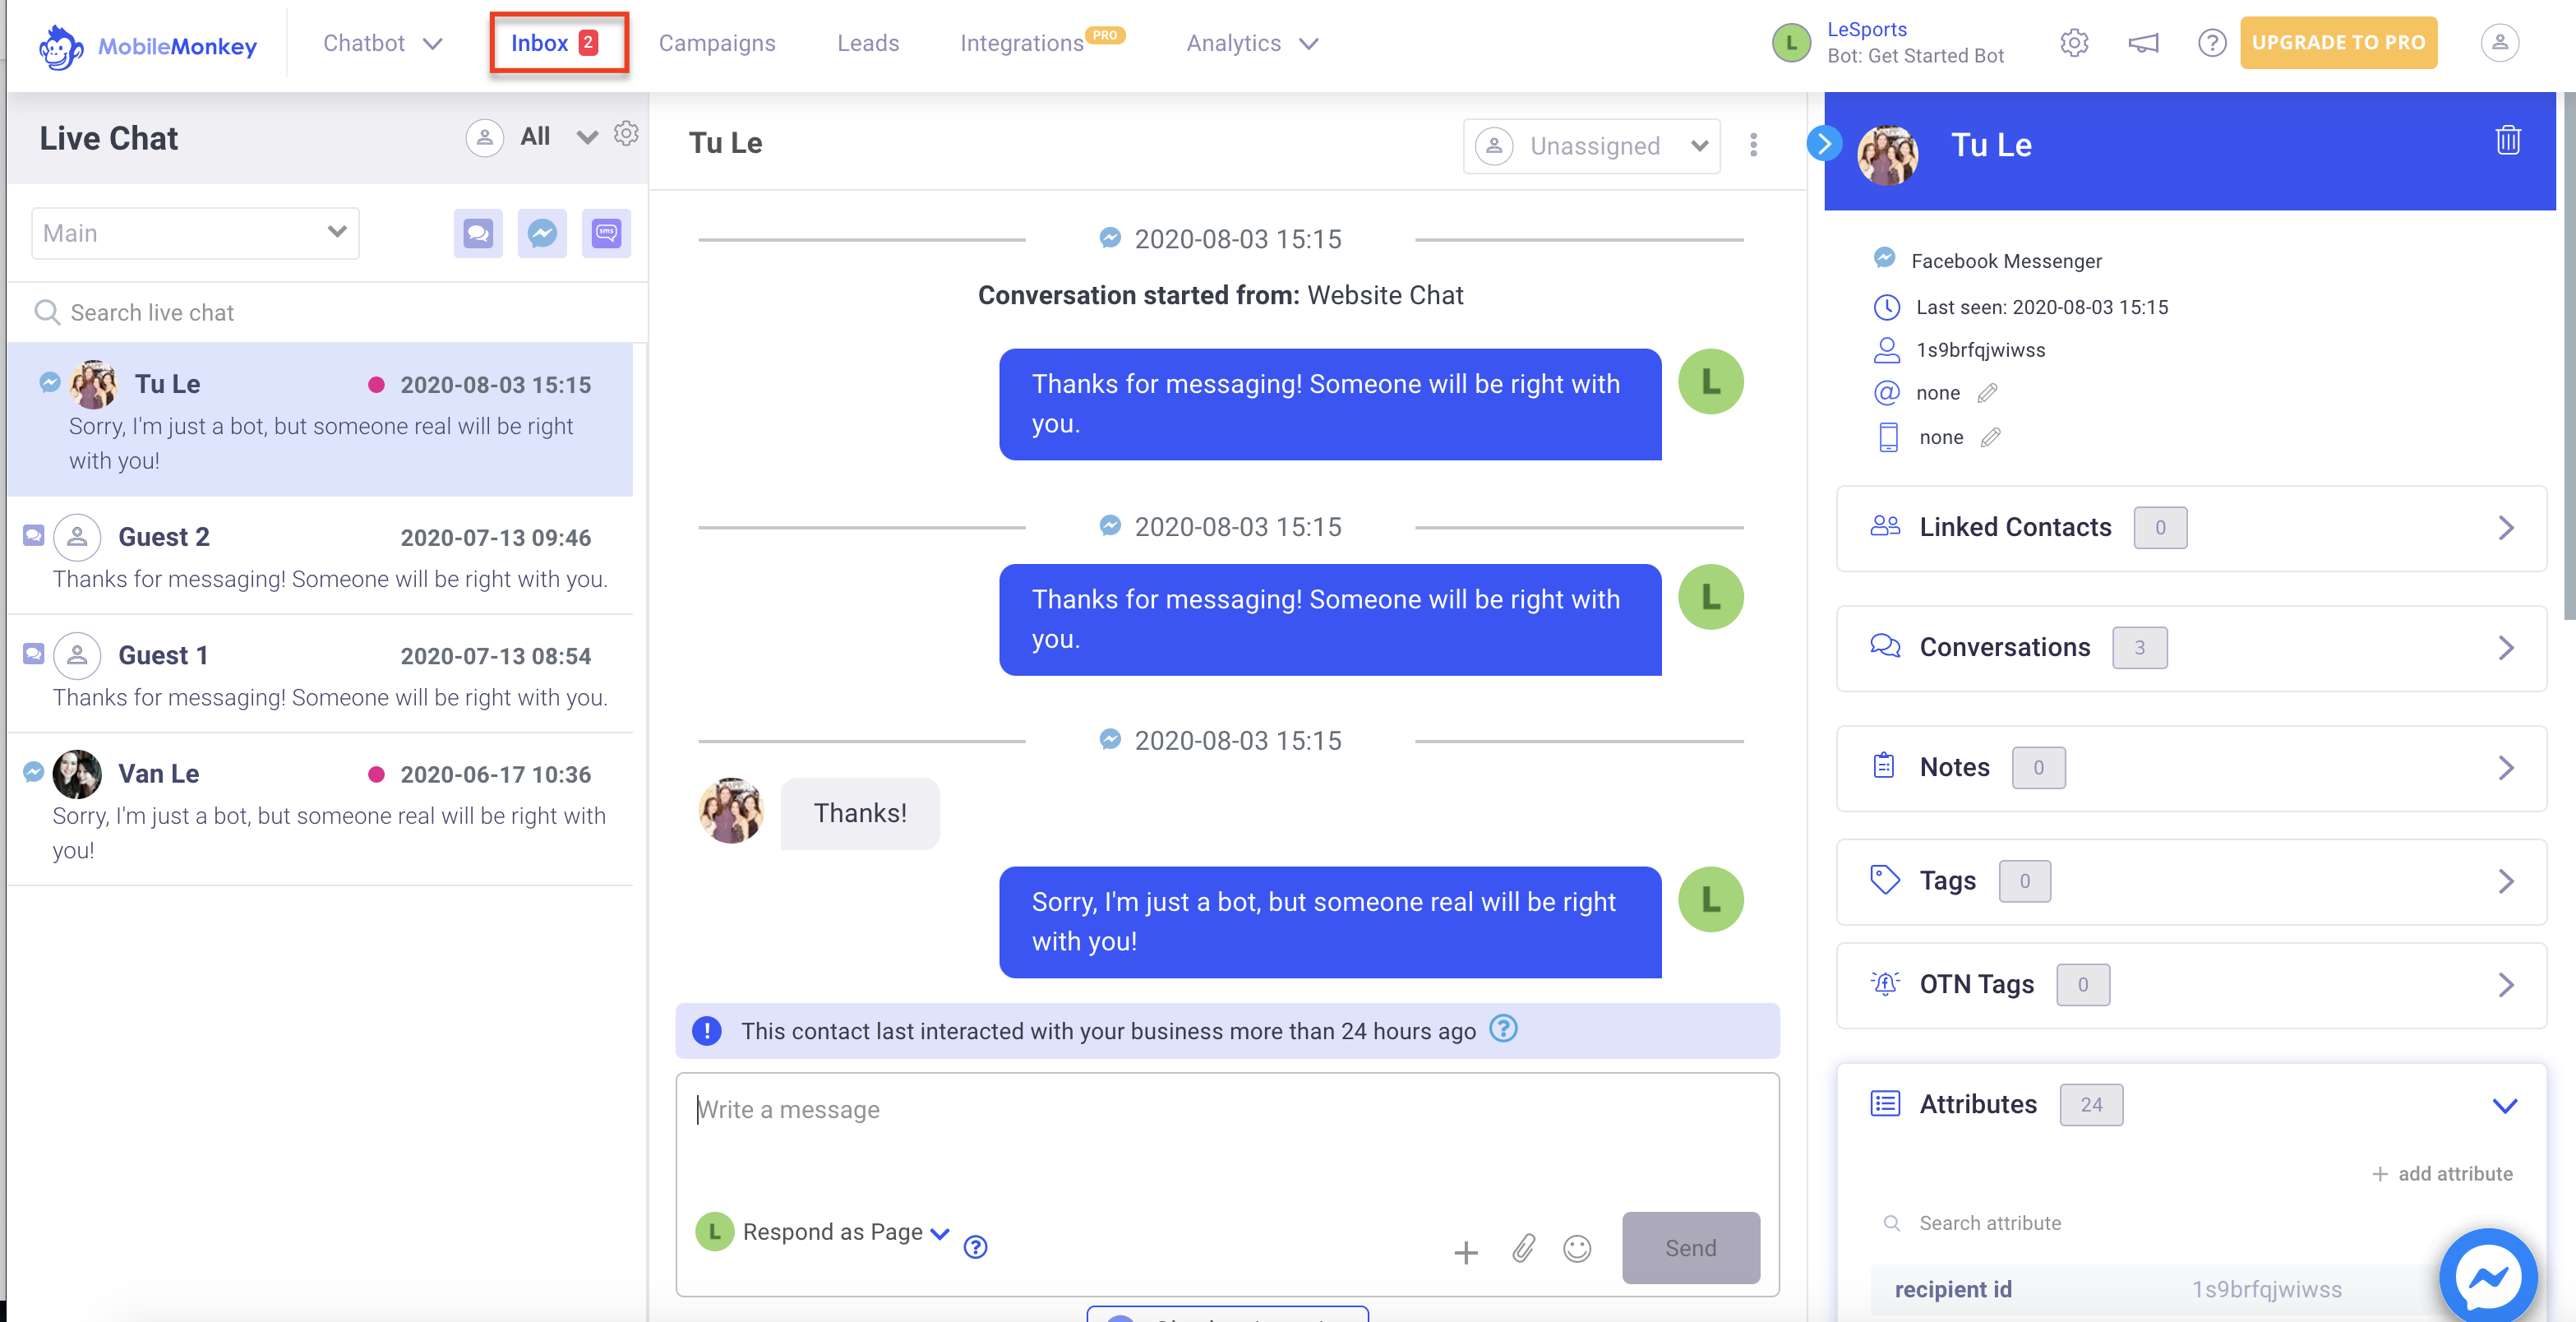
Once the chat widget is on your website, be ready to answer incoming questions! Your bot will be able to handle most of these but some will still require your attention. When a conversation requires your attention, we will send you notifications on your desktop browser (if you've opted in to receiving notifications from us) and in the mobile app. Learn more about our push notifications here.
You can respond to your customers in your MobileMonkey inbox or from our mobile app. Download our mobile app from the Android or iOS app store. Just search for MobileMonkey Chat.
Need more help? Contact us at support@mobilemonkey.com