Setting up your Facebook Ad Account in Business Manager
 Updated
by
Raquel Bartolome
Updated
by
Raquel Bartolome
Follow the steps below to set up your first ad account with Facebook:
Step 1: Set up a Business Manager account
Already have one? No problem! You can skip this step. Otherwise, follow the instructions below:
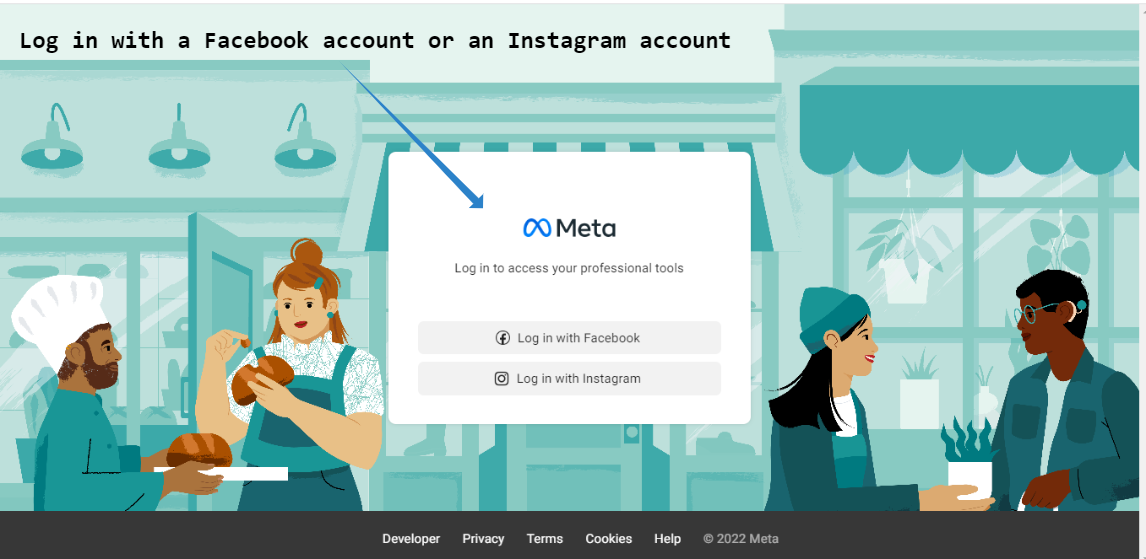
- Go to https://business.facebook.com/ to begin setting up a Business Manager account with Facebook. This is not required, but highly recommended, especially if you plan on using several accounts and would like to manage users/partners on your ad account
- When you get to the to the Business Manager homepage, click "Log in" if you're not already logged in. You need to log into your personal Facebook account here.
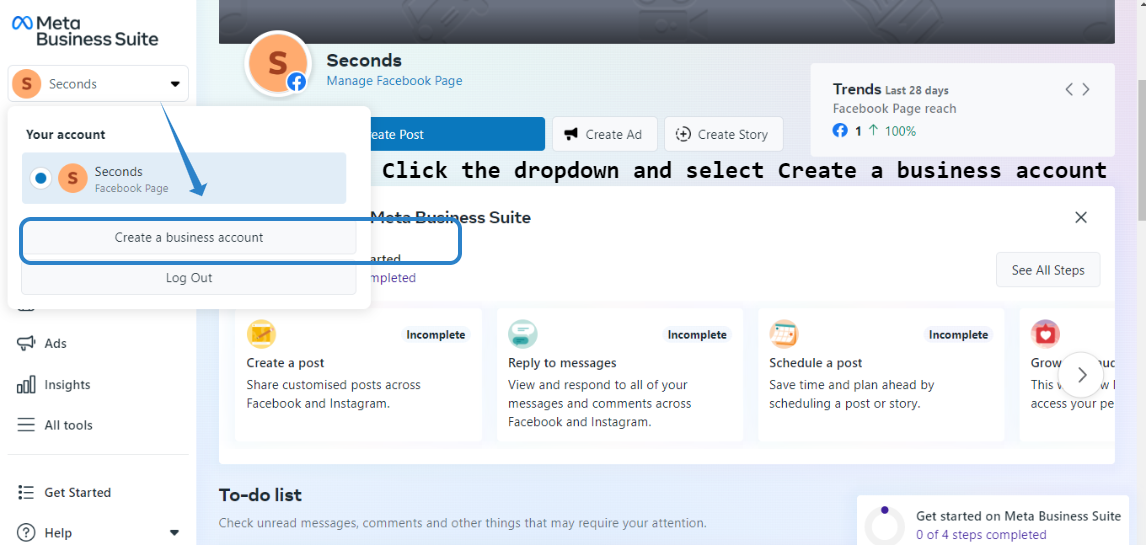
- Once you are logged in, click on "Create Account"
- Fill out the form with information about your business.
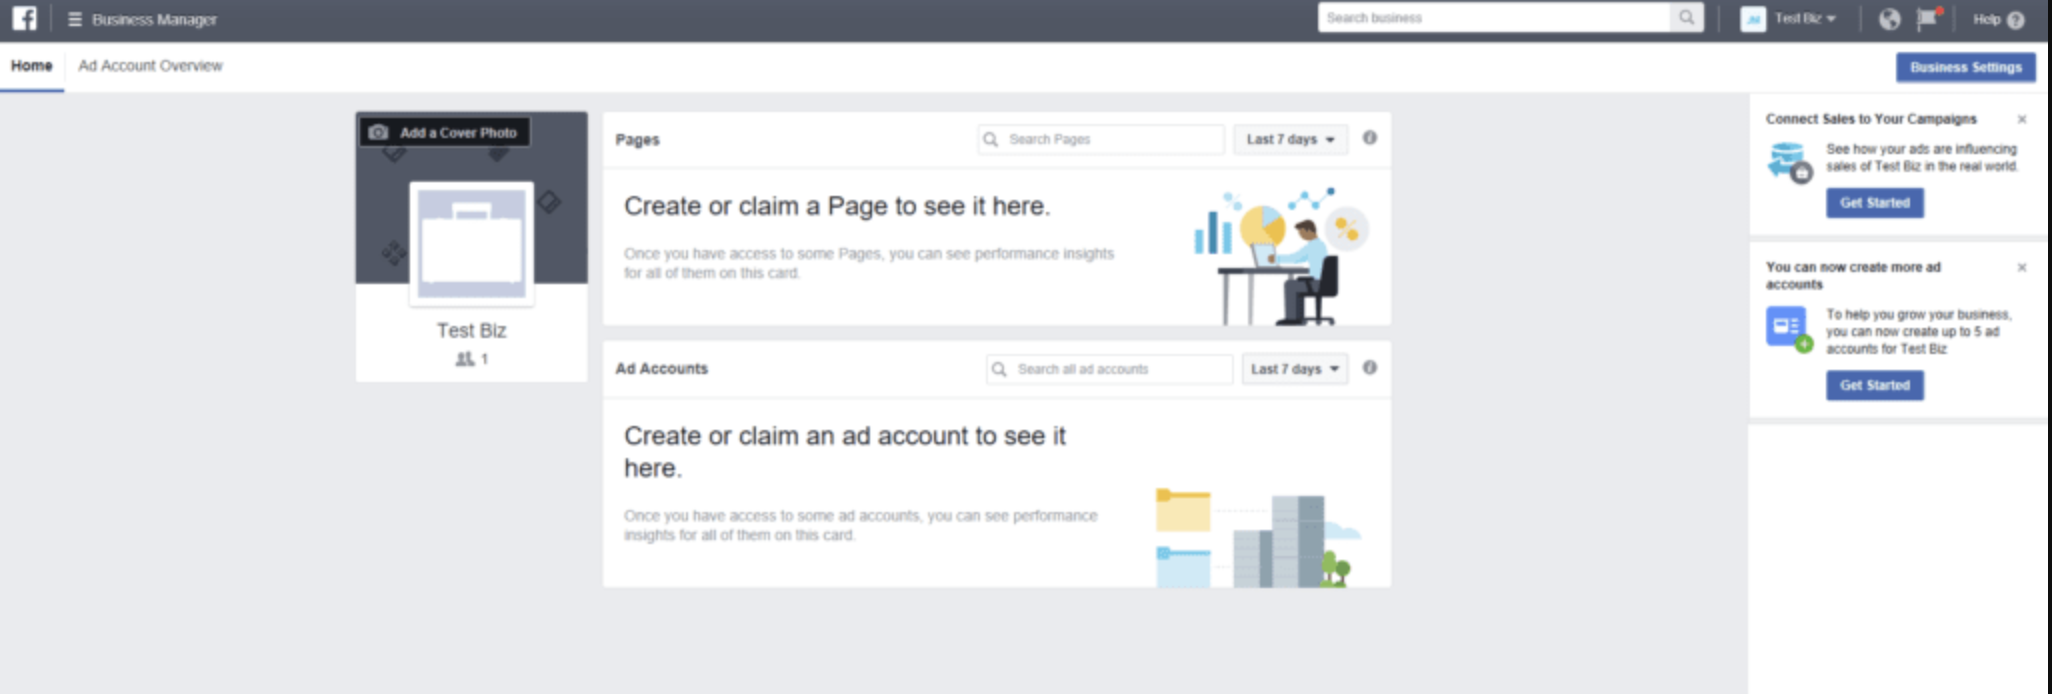
- After you are done setting up your Business Manager account, you will be taken to the Business Manager Dashboard:
Step 2: Claim your Facebook Page(s)
Next you'll need to claim your Facebook pages in your Business Manager account.
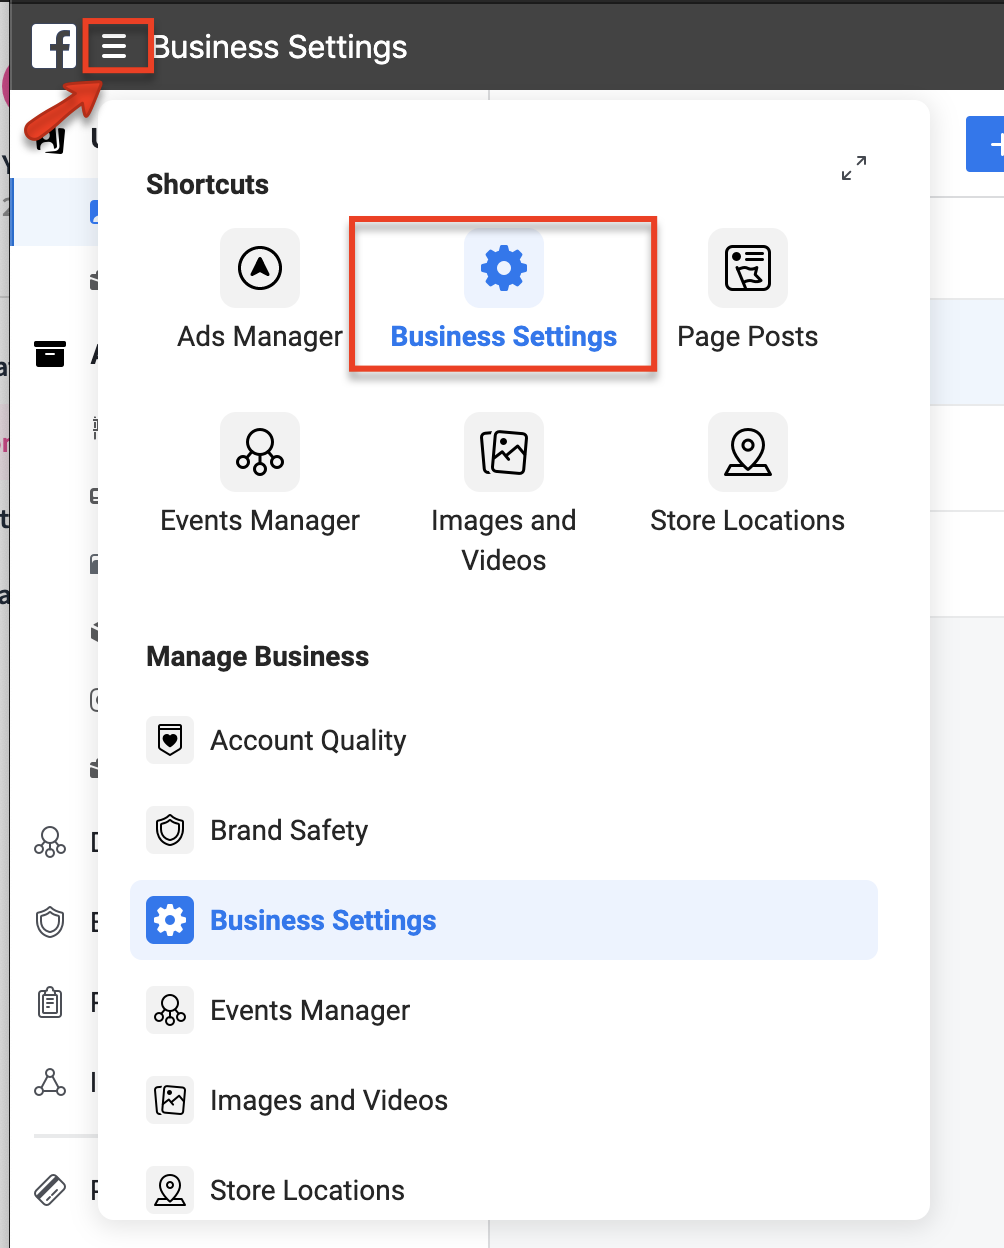
- In your Business Manager dashboard, click on the menu on the top left hand corner, then select "Business Settings"
- In your Business Settings, go to the "Pages" section and click "+ Add". You can choose to add a page you already own ("Add a Page"), request access to someone else's page ("Request Access to a Page"), or create a new page ("Create a New Page").
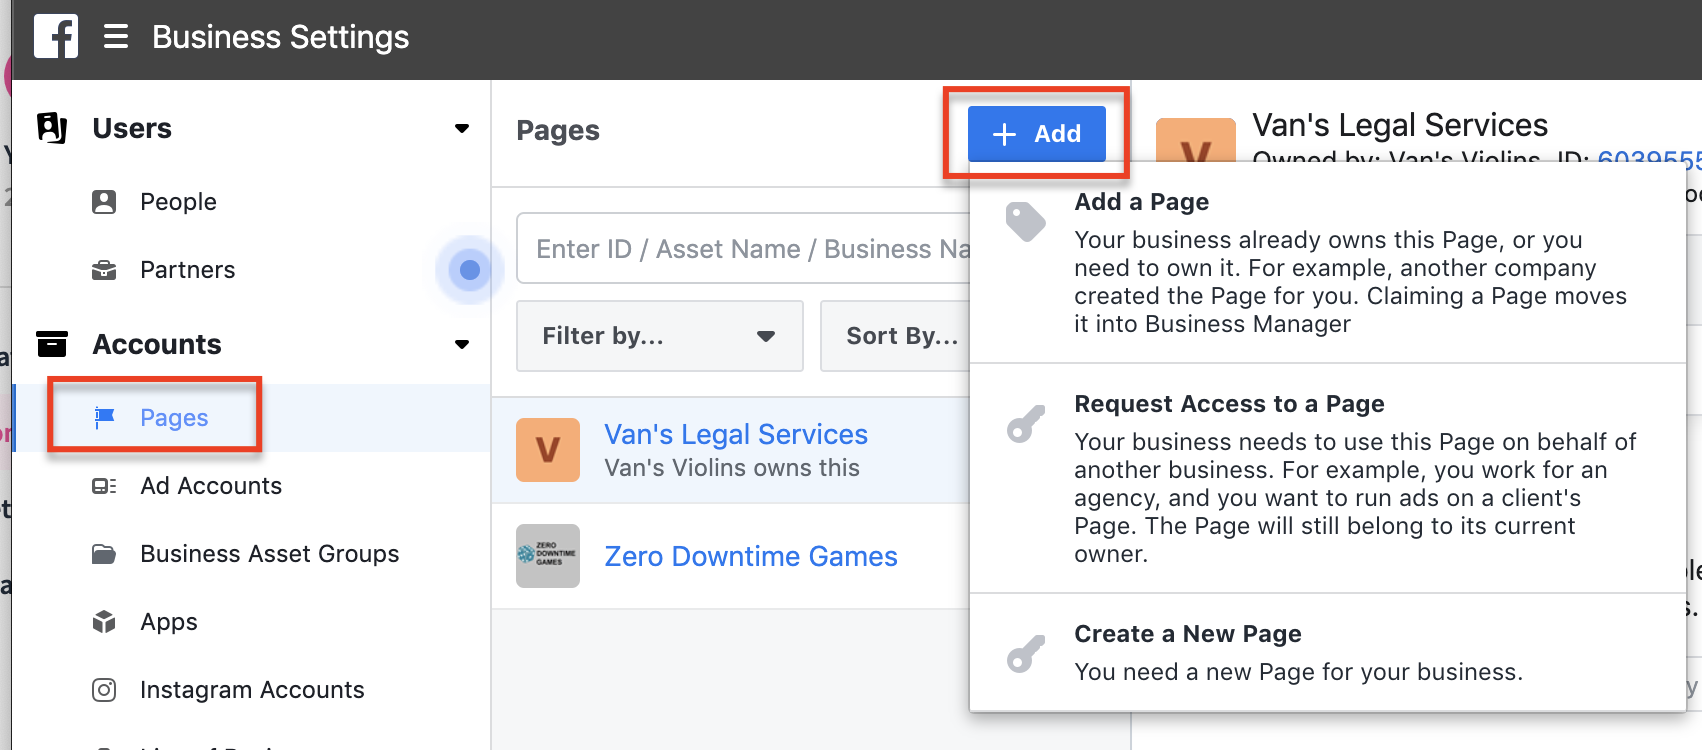
- Make sure to add all pages you want to use for your ads.
Step 3: Claim Your Personal Ad Account OR Create a New Ad Account
- To claim your personal ad account:
- In your Business Manager dashboard, click on the menu on the top left hand corner, then select "Business Settings"
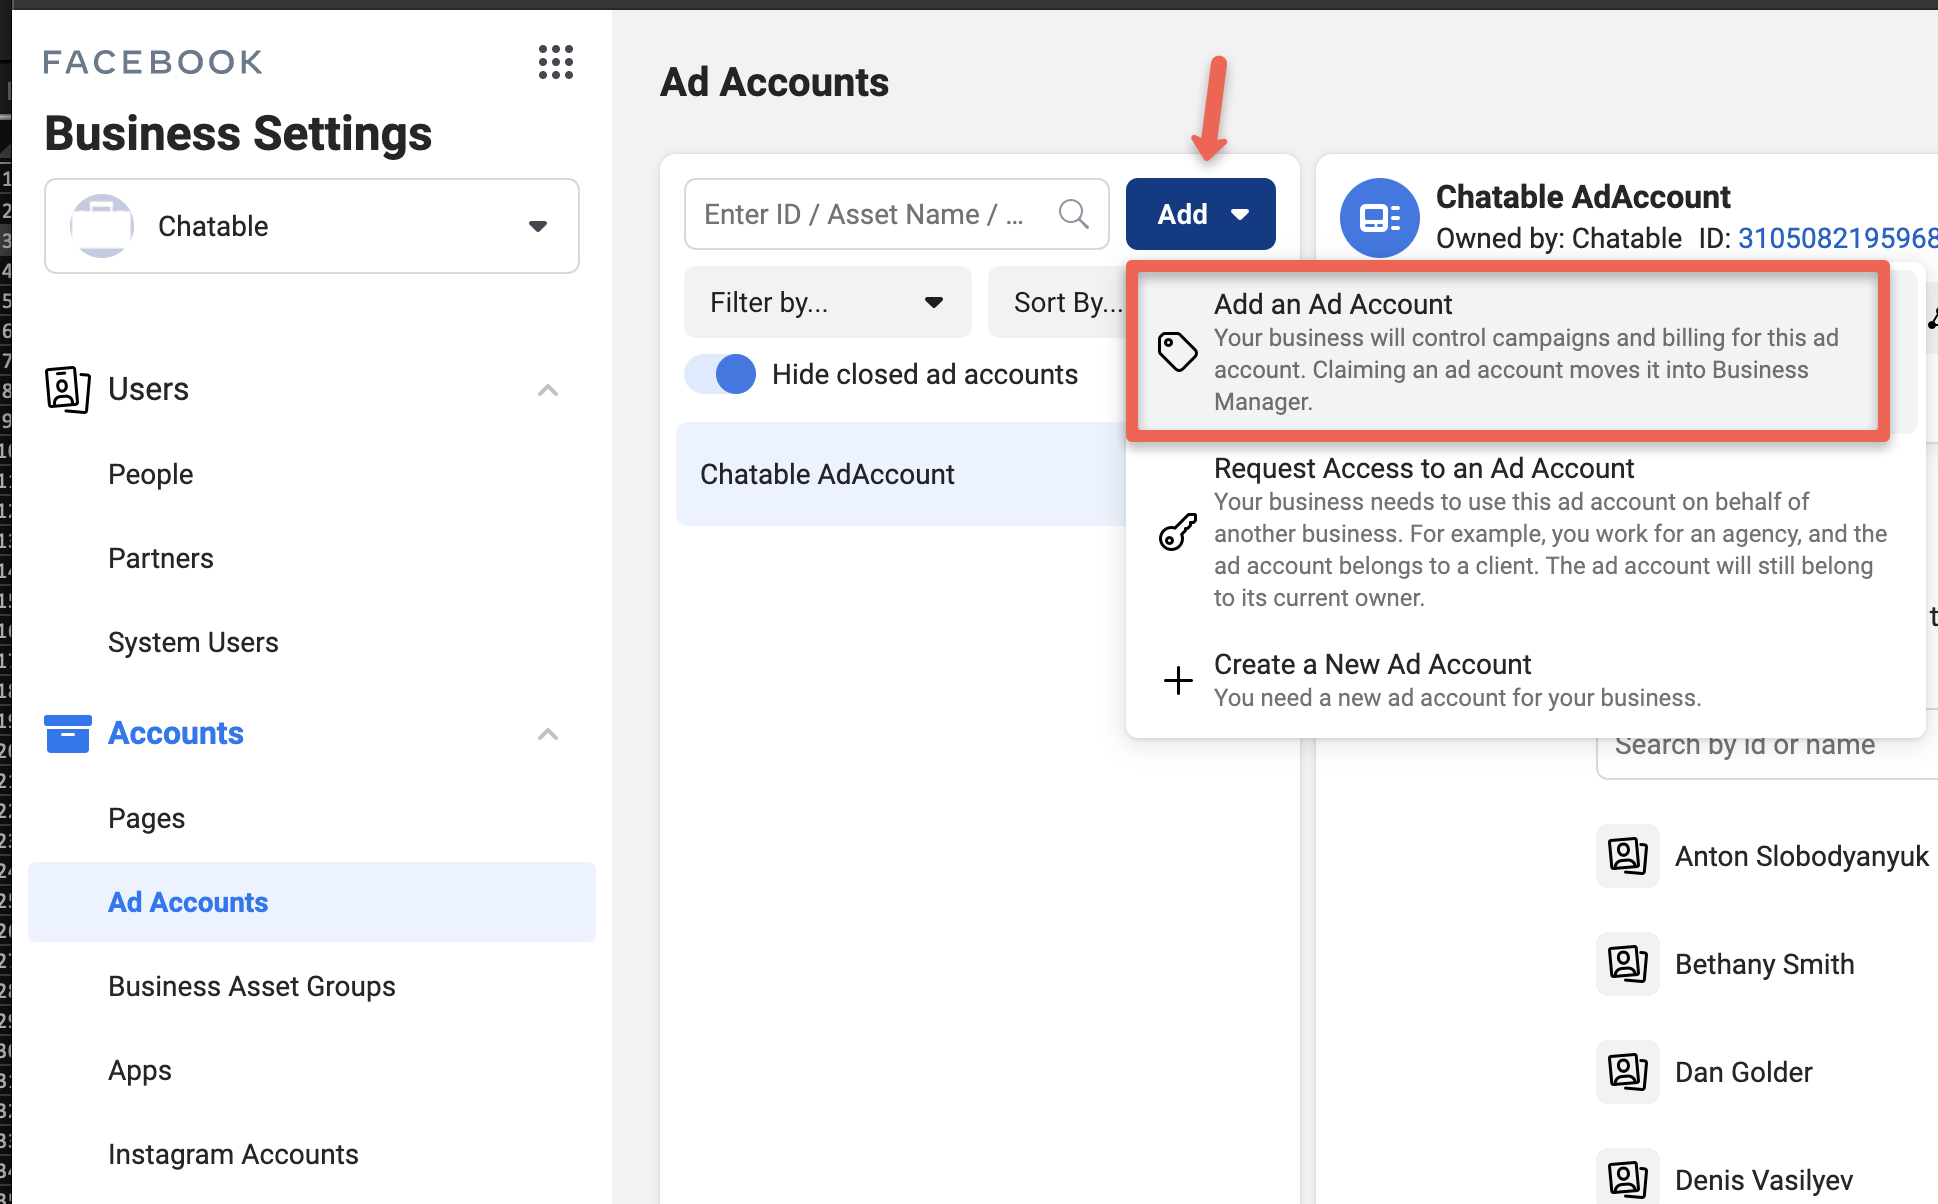
- In your Business Settings, go to the "Ad Accounts" section and click "+ Add". Then select "Add an Ad Account":
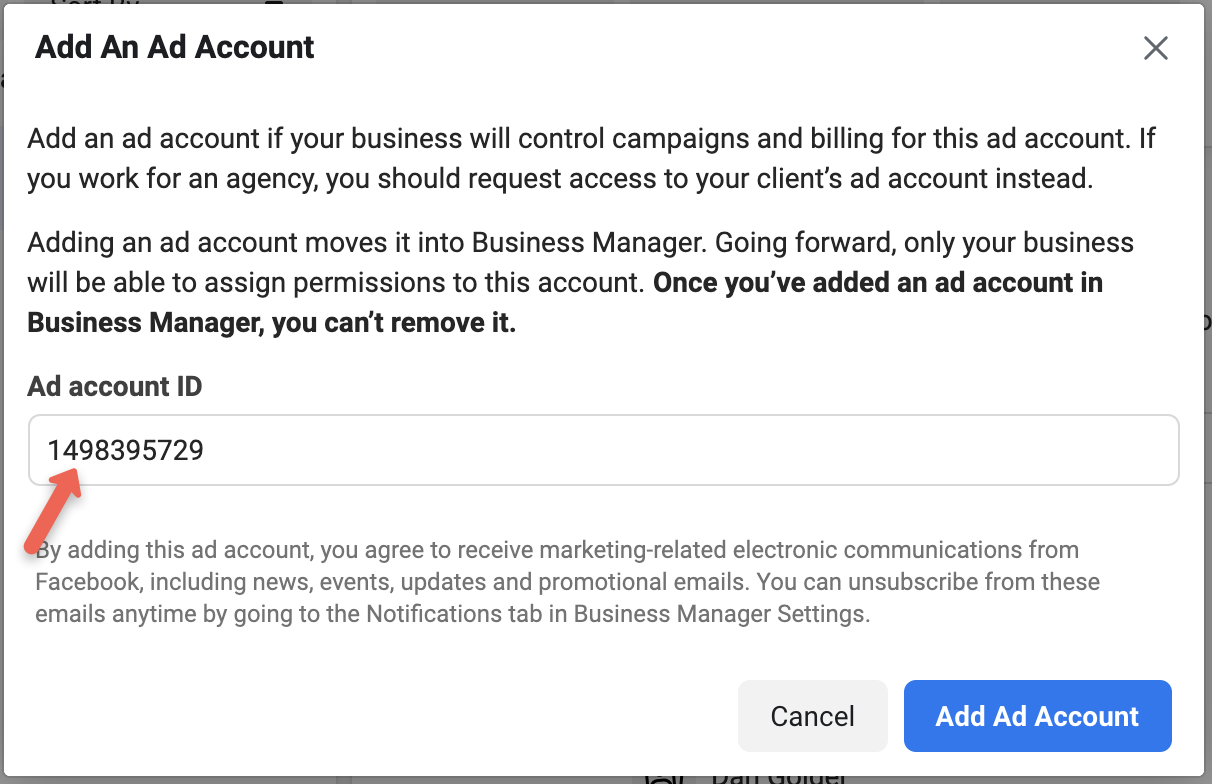
- Insert the ad account ID into the "Ad account ID" field and click "Add Ad Account"
- In your Business Manager dashboard, click on the menu on the top left hand corner, then select "Business Settings"
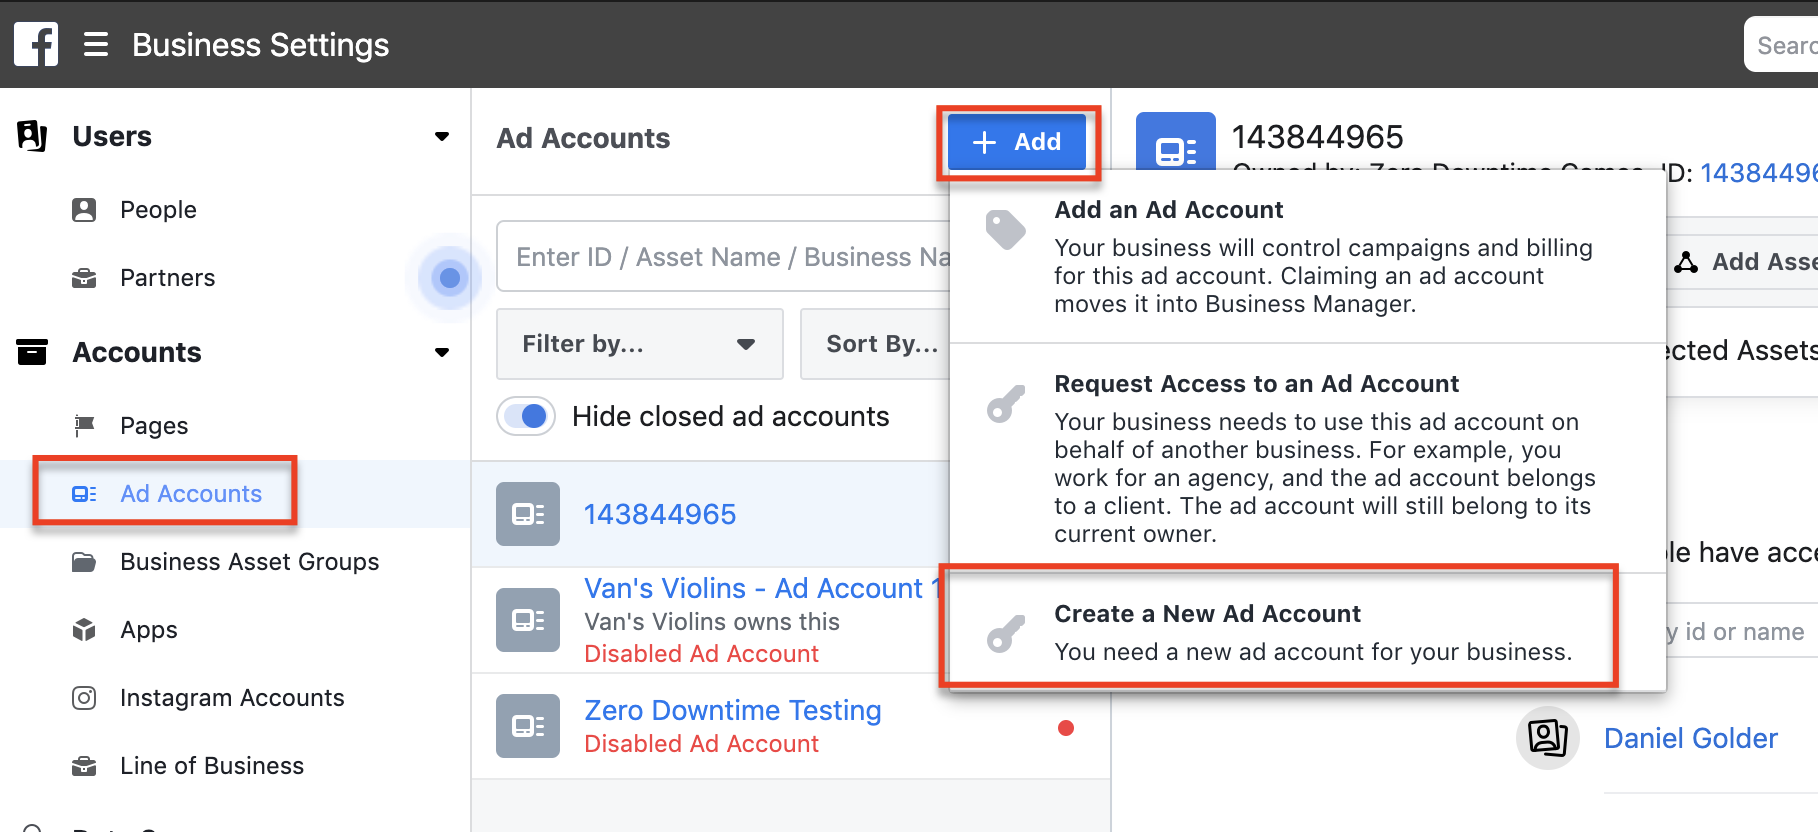
- To create a brand new ad account:
- In your Business Settings, go to the "Ad Accounts" section and click "+ Add". Then select "Create a New Ad Account":
- Fill out the fields requested by Facebook. At the end, choose which users in your Business you want to have access to this ad account. Make sure you grant access to yourself.
- In your Business Settings, go to the "Ad Accounts" section and click "+ Add". Then select "Create a New Ad Account":
Step 4: Add a Funding Source
Almost there! Last step is to add a funding source
- In your Business Settings, go to the "Billing" section:
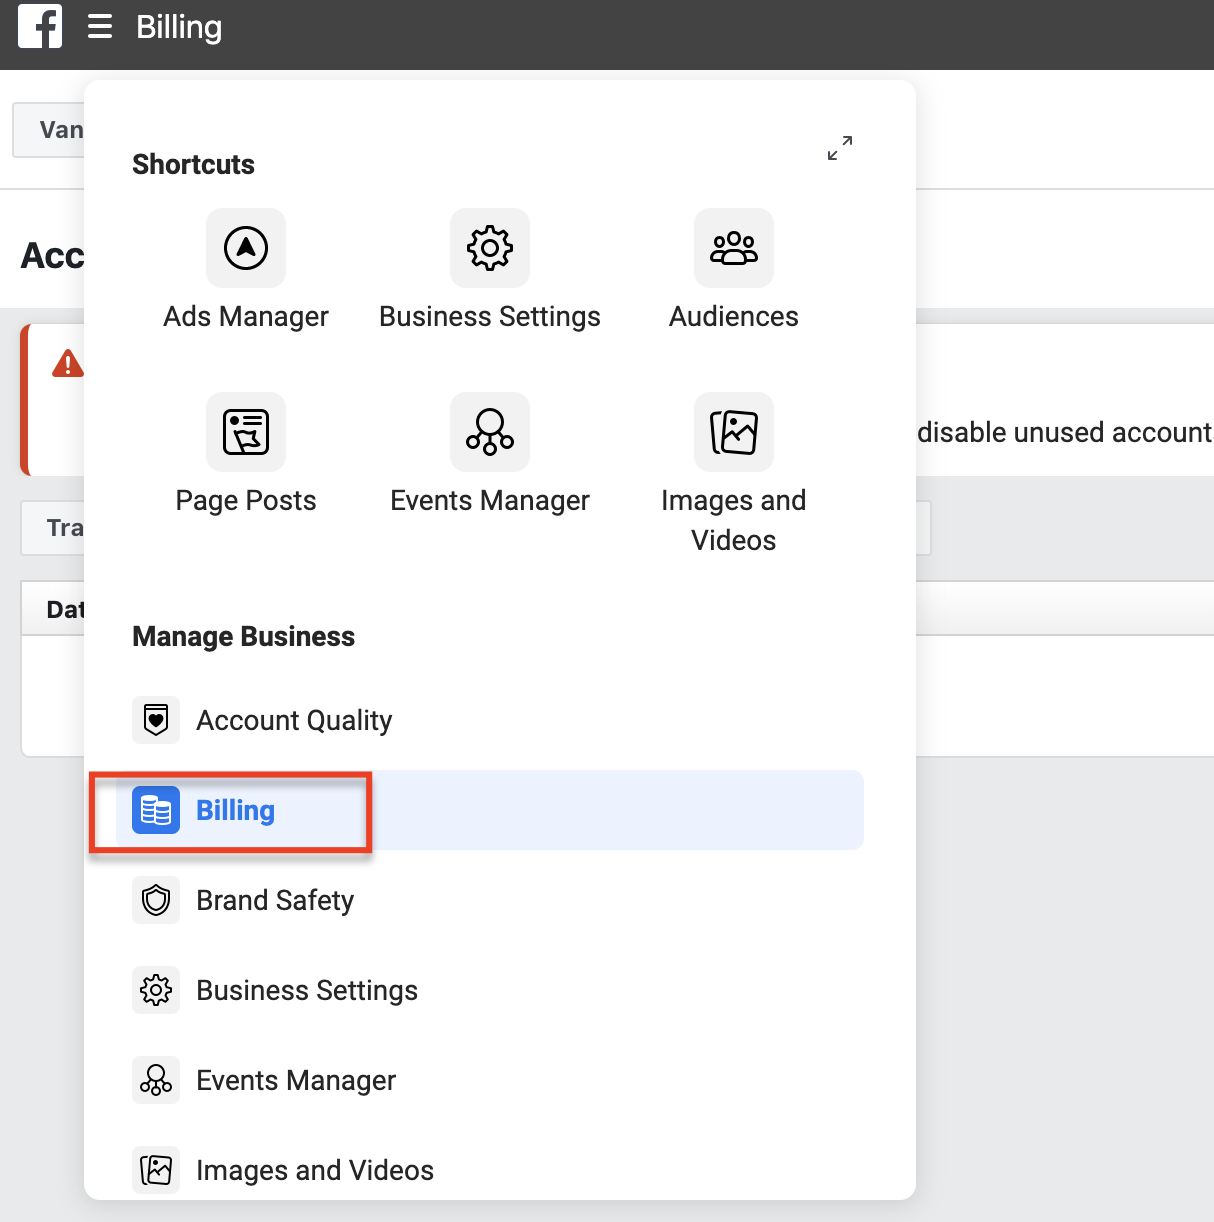
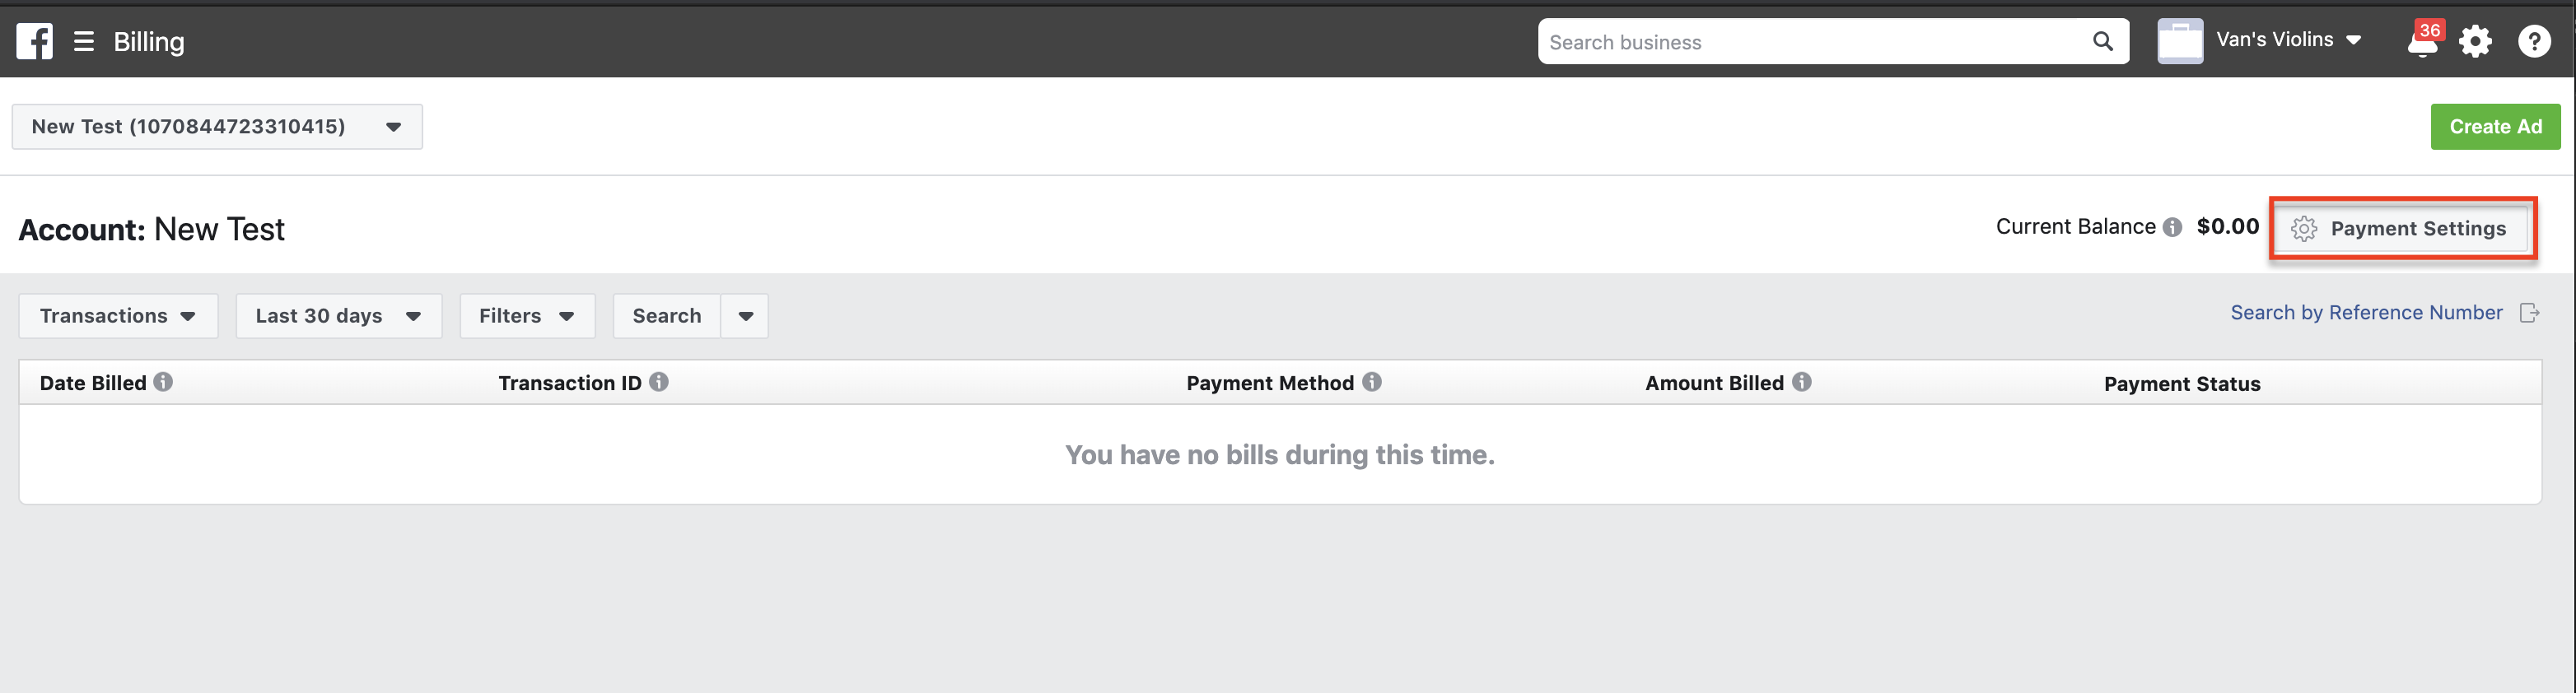
- In Billing, click on "Payment Settings":
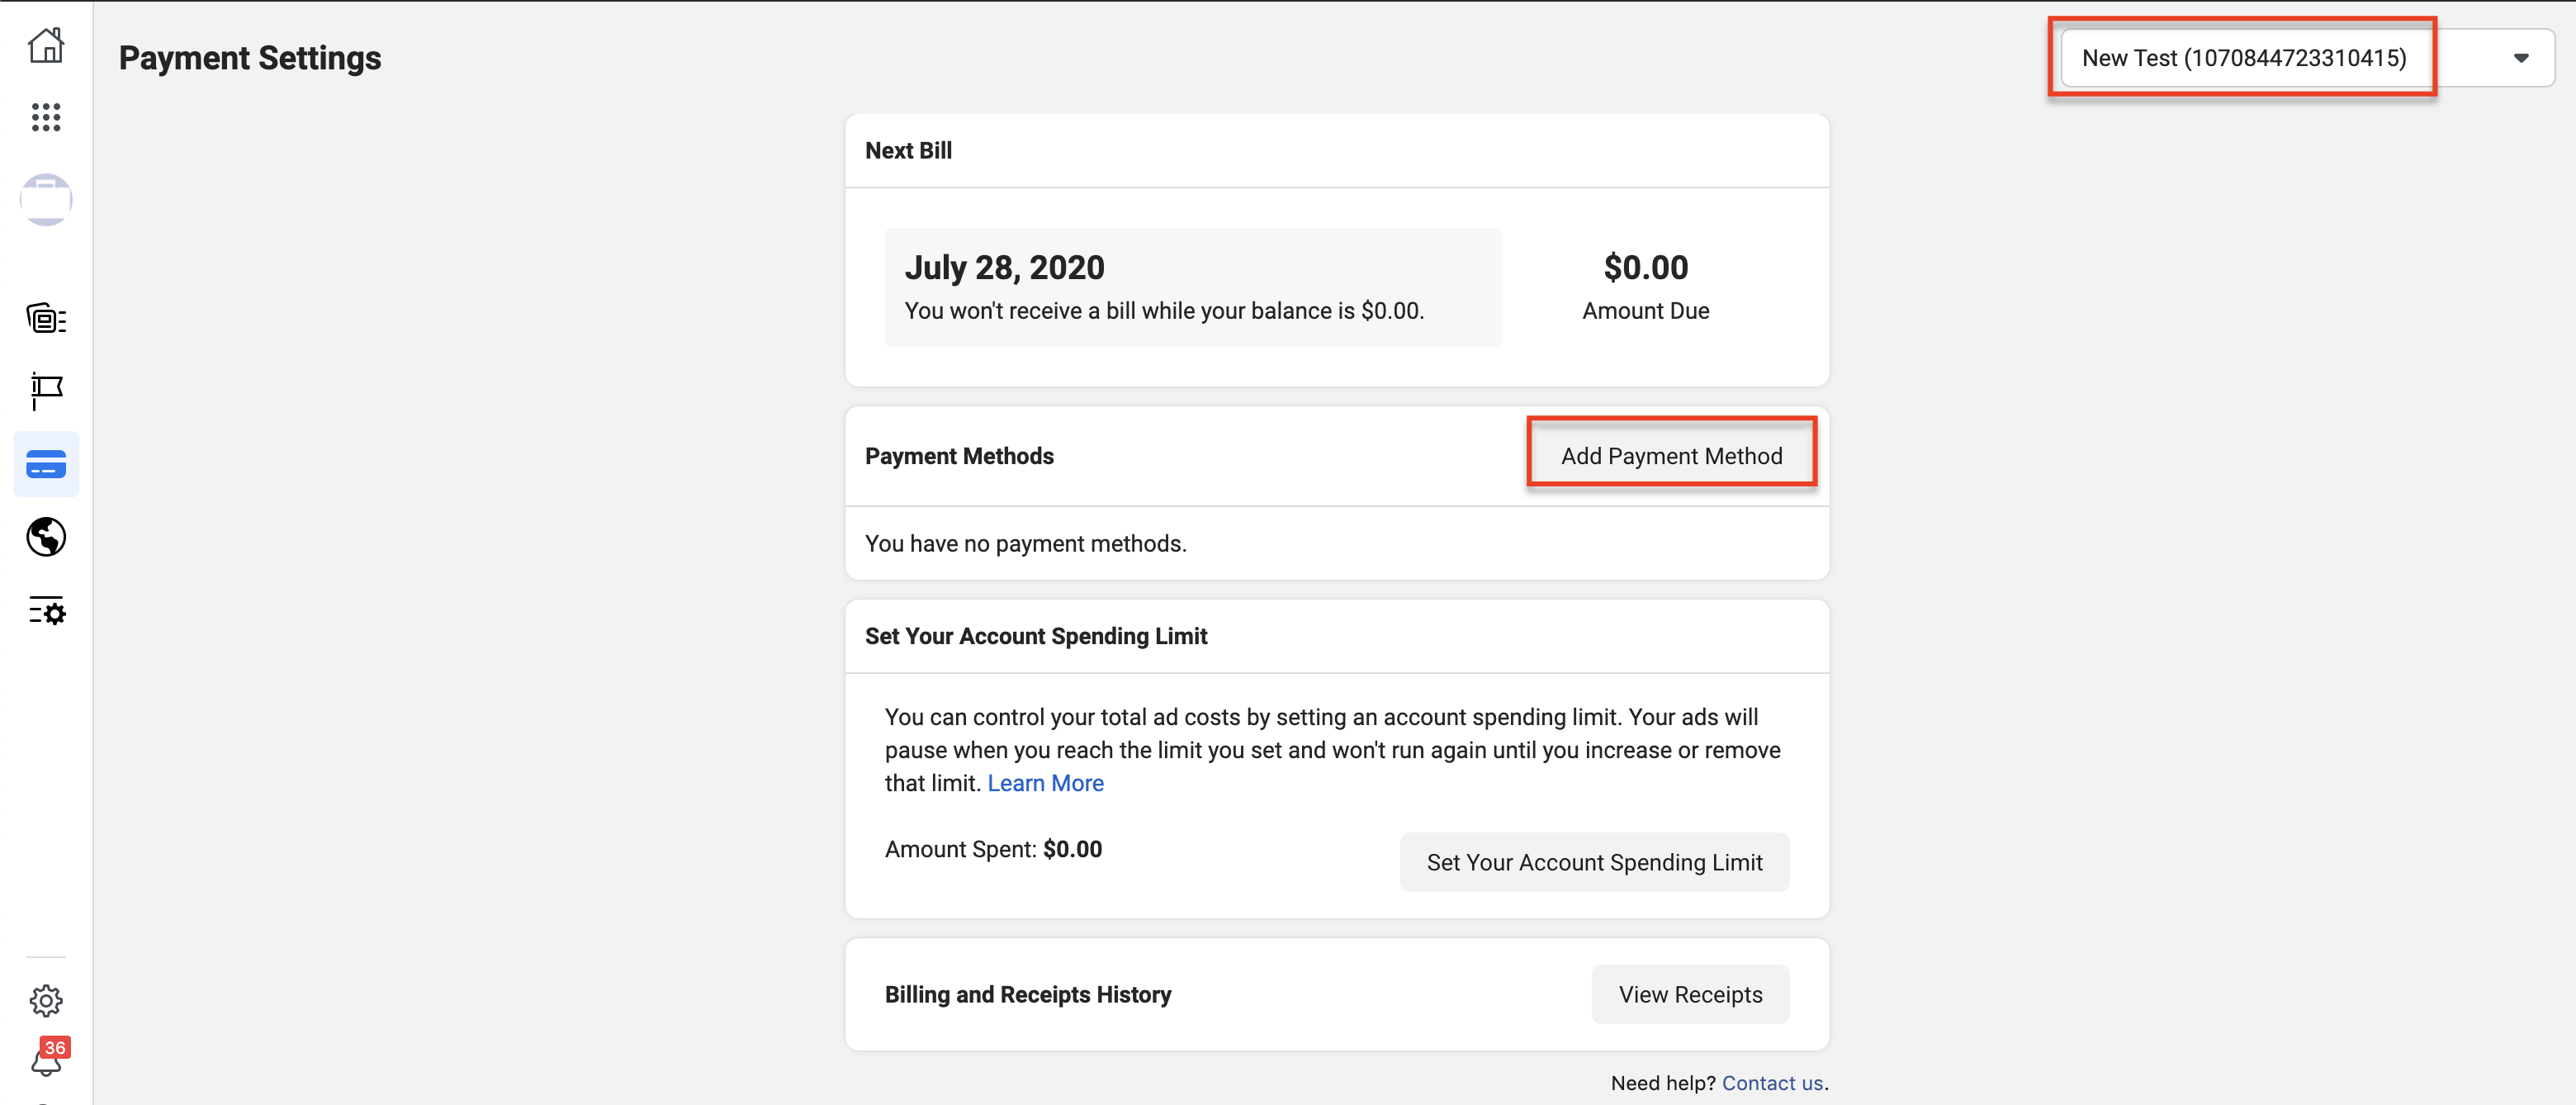
- In Payment Settings, click on "Add Payment Method". Make sure your ad account is selected on the top right hand corner:
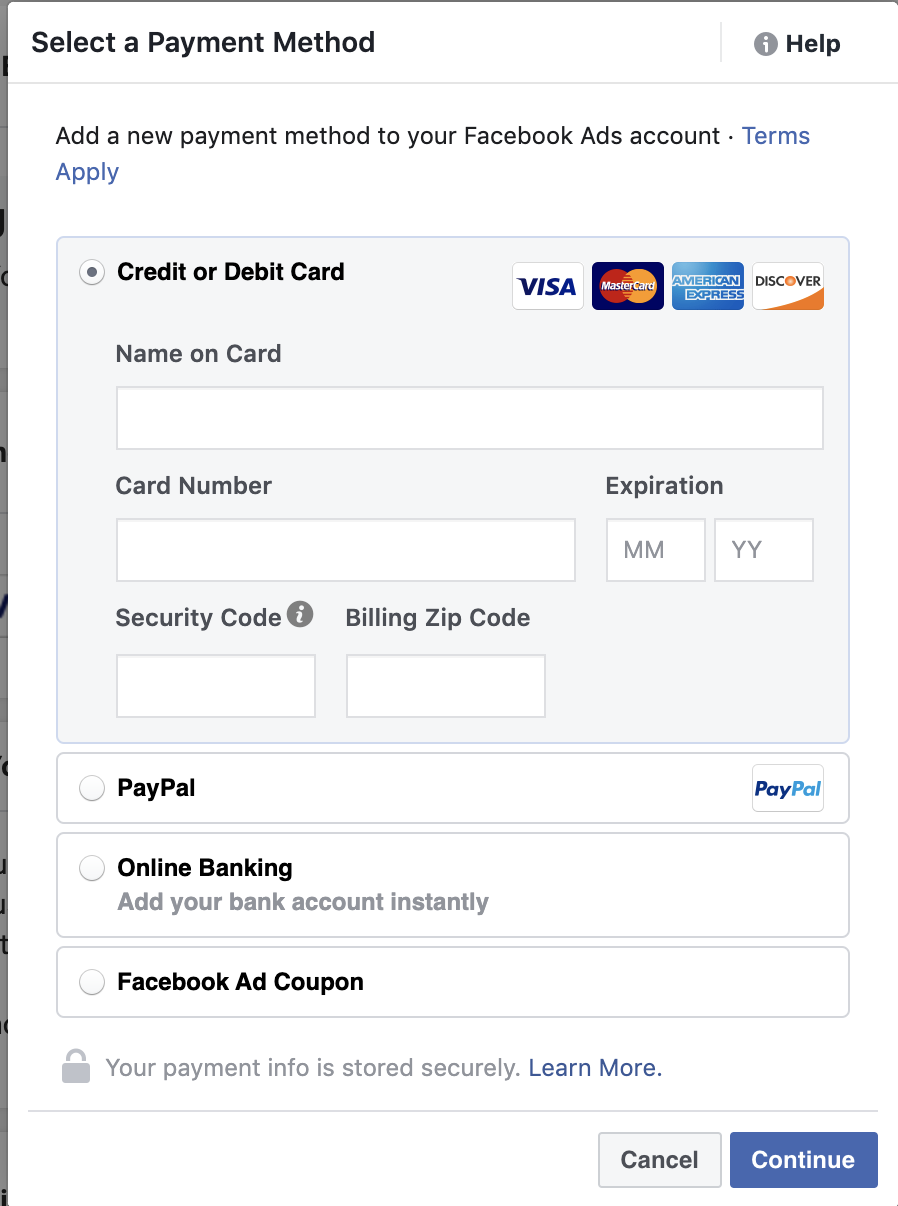
- Fill out the payment form and save the payment method:
- All set! you're now ready to start running some ads on Facebook. Check out this Help Doc to get started with some Click-to-Messenger ads on MobileMonkey