Customer Chat Isn't Showing On My Website

Script is missing on the website
To make chat widget appear on the website <script> have to be placed between <head> and </head> tags.
This can be done by direct insert to source code, adding via Google Tag manager, adding via HTML elements / Embedded code block (typical for websites build on platforms like Wix, Webley, Site123 etc).
Script sample is:
<script async="async" src="https://static.mobilemonkey.com/js/2055437778089419.js"></script>
To check if your website has the script:
Right click of the mouse on website -> view page source -> CTRL+F for search -> search for word 'mobilemonkey'
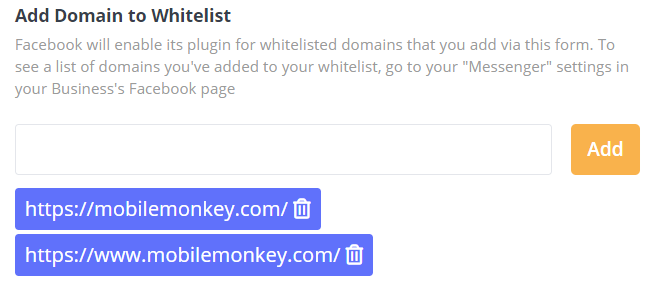
Domain is not whitelisted
The website domain should be added to MobileMonkey "Add Domain to Whitelist". Make sure to include also domain with www.
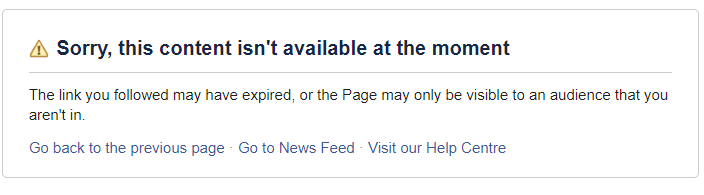
Facebook page is unavailable / blocked / banned / unpublished / deleted
In order to show the chat plugin Facebook page should be connected and available. If it was blocked by Facebook, or deleted by business, or unpublished - the chat widget won't be shown of the website.
Blocked Facebook page looks like on the screenshot below (for page Admin it still may be visible, make sure to check from a different account)
You have some restrictions on your Facebook page that prevents the chat widget from showing unless the user is logged into Facebook
Check your page Settings on Facebook (Settings > General) to see whether you have Country or Age restrictions in place. When these restrictions are in place the chat widget won't show up unless the user is signed into Facebook on that browser and the user meets your restrictions.This will also prevent you from seeing a preview in MobileMonkey during the chat widget setup (Chatbot > Chat Starters > Website Chat Widgets > Edit your Chat widget)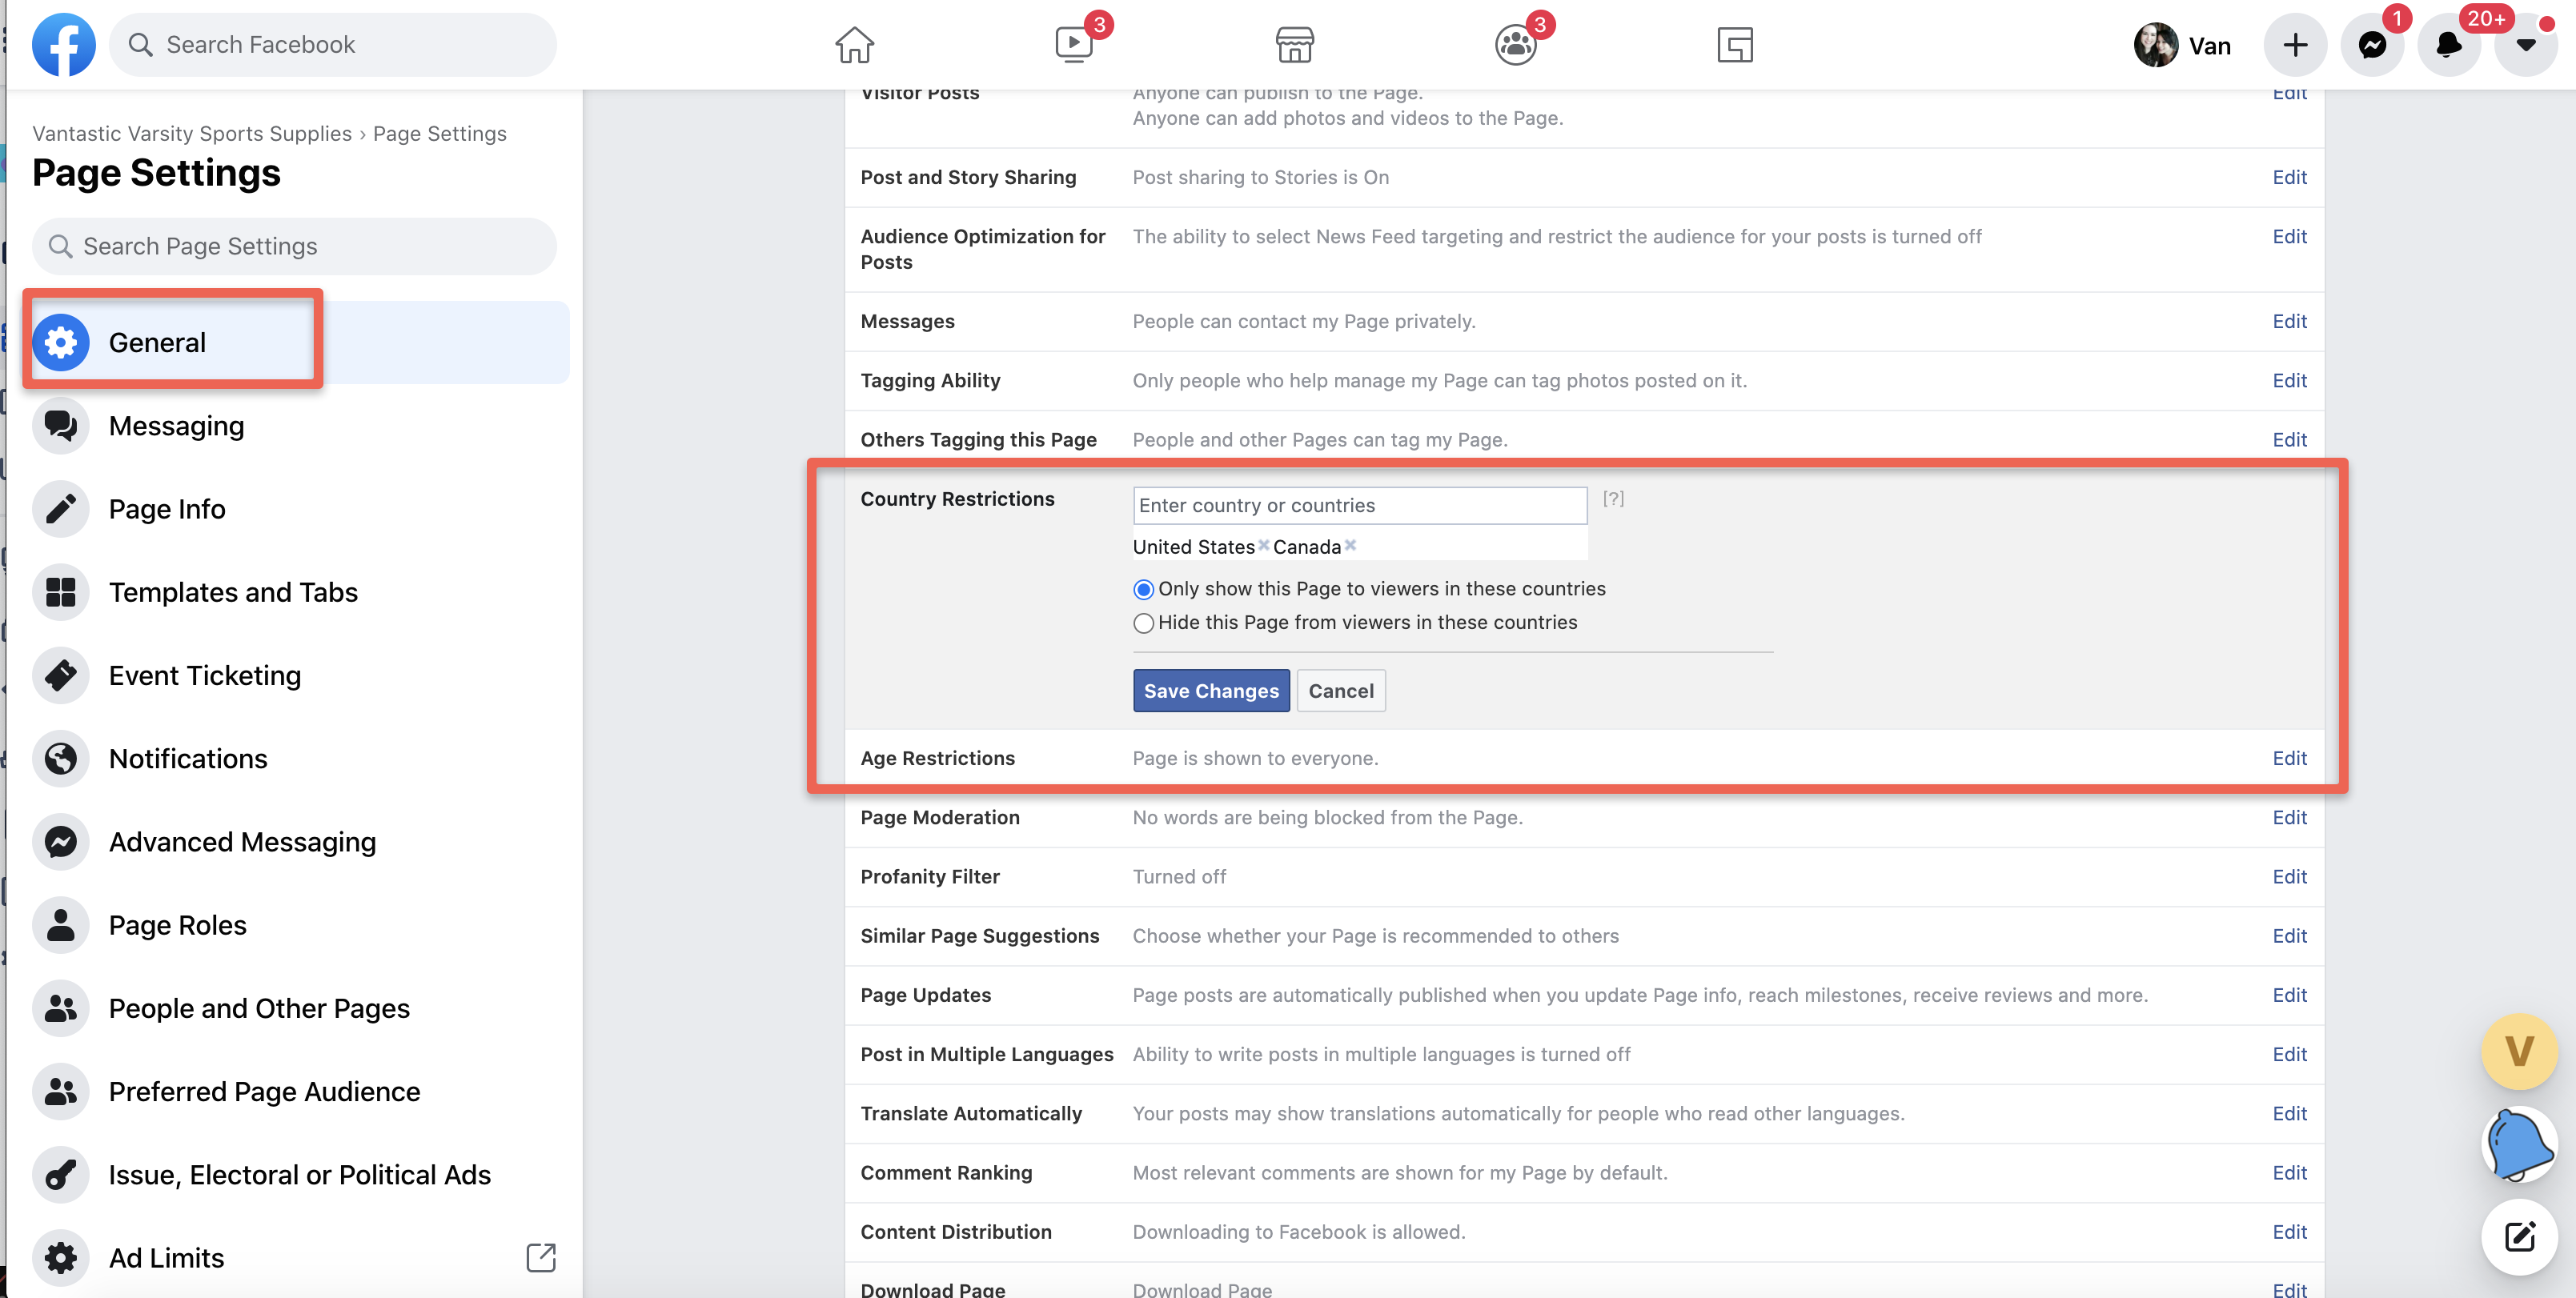
Disconnect / Re-connect Facebook page (more common for WordPress pages)
If happened that page lost connection with Facebook, just Disconnecting / Re-Connecting solves the issue.
WordPress users should be able to do it in 'Step 1 Setup'
